
A Media Gallery is reusable content that holds a set of images. The Image Gallery feature is turned off by default and can be turned on by an Agency Manager.
- Go to Site settings > Agency settings
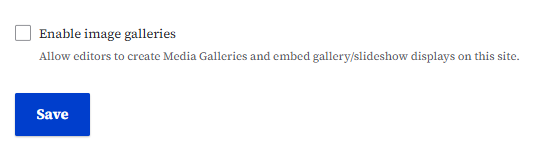
- Check the Enable image galleries box located above the Save button near the bottom of the page.
- On: Editors can create Galleries, the WYSIWYG toolbar button works, and Galleries will appear when embedded.
- Off: Gallery creation and management is blocked, Gallery blocks are hidden, and any embedded Galleries stop appearing. No content is deleted.
Build a Media Gallery
- Before you can add a Media Gallery to your website, create the Media Gallery.
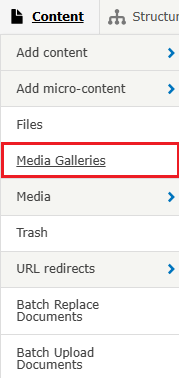
- To create a Media Gallery go to Content > Media Galleries.
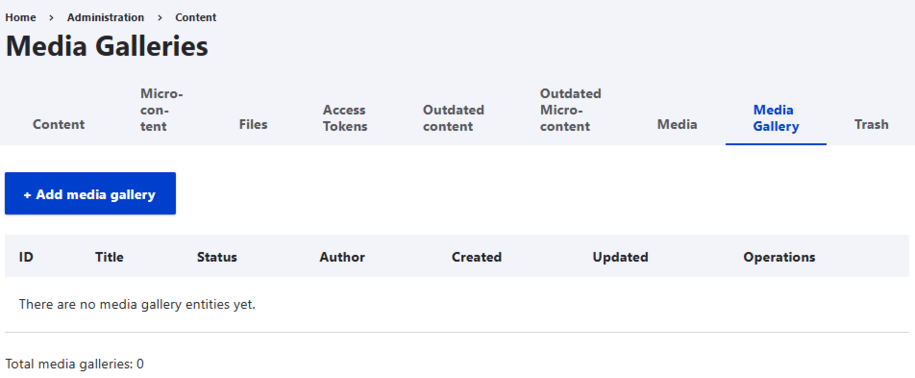
- Select the blue Add media gallery button.
- Add a title for your Gallery, a description if desired, and add your existing images from the Media Library or upload from your computer or available drive. You'll be prompted to add alt text for any image you upload to the Media Library.
Add a caption for each photo, if desired. Not all photos in a gallery need captions. Some images can have captions, and others can remain caption‑free. Think about what your visitors need: for example, if the gallery description already explains an event, you may not need captions for each photo. However, if certain images require context, identify specific people, or help explain part of a story, adding captions is the best approach.
To add captions to photos, find the photo in your Media Library or add a new photo. Under the Preview and Alternative text field, there is a Caption field.Note: If your caption matches your alt text, Acquia Optimize will display a warning. This is because captions and alt text serve different purposes, and using the same text for both can create a repetitive, frustrating experience for people using screen readers. Captions are visible and help sighted users understand or identify an image, while alt text describes what the image looks like for users who cannot see it.
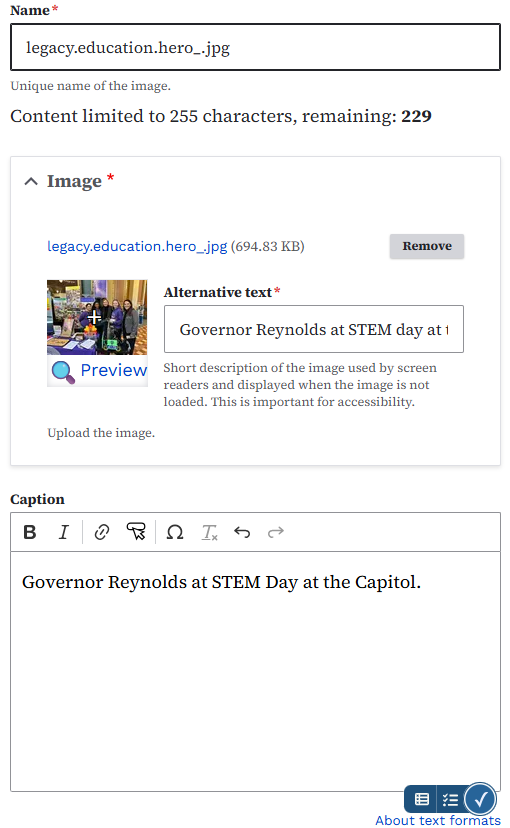
- Images are added, reordered, and reused through the standard Media Library. Images do not have to be the same size.
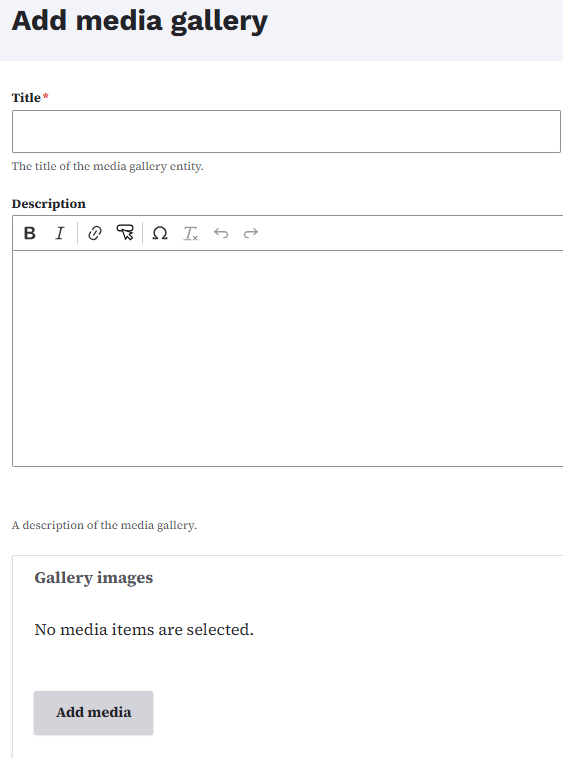
- You can tag for reuse with the Division/Section field so Galleries can be organized and reused across the site.
- Once you have images added to your Gallery, you can drag them around to change the order. There is also a checkbox to Show photos in reverse order if desired.
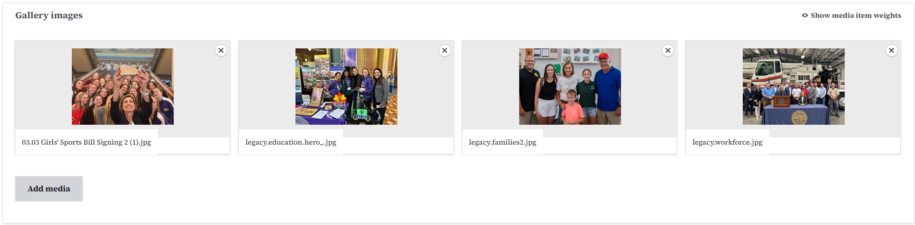
- Select Save when you're happy with the order of your Gallery.
- To place your Gallery on your web page, use the Media Gallery button in the WYSIWYG toolbar available in News, Basic pages, Promos, and other supported types.

- An embedded Gallery will appear in a grid format. The Gallery will show three images across with a maximum of four rows. If you have more than 12 images, it will create a new page with links to the additional pages below the current Gallery.
- Any image can be selected to get a larger view. When you click on one of the photos to see a larger view, you'll find an arrow on each side of the page that allows you to scroll through the photos without clicking on each one. Click the X in the upper right corner to close this option.
- View an example of a Media Gallery embedded in a page
Your gallery will appear in the allowed content space, with your right-side navigation still available. - View an example of a Media Gallery with a direct link to the gallery
Your gallery will appear in your web page template, but there will be no right-side navigation. To link directly to your Media Gallery without embedding it on a page, find your Media Gallery under Content > Media Galleries and select the name of your desired Gallery.

- When that page opens in your browser, you'll see a URL similar to this: https://dxtraining.iowa.gov/media_gallery/1.
- Select /media_gallery/1 as your link and place that in the link box where you want to link from.
Example: Enjoy this photo gallery

- Now your Media Gallery will open on a separate web page with no navigation on the right side.