Purpose
A Visual Link Collection is made by putting different links together into one group.
When to use
Choose a Visual Link Collection to organize and display multiple links with related images or categories.
Elements of Visual Link Collections
- Intro title: Title of Link Collection, appears to the user, but is optional
- Title: Content limited to 75 characters, option to hide this title
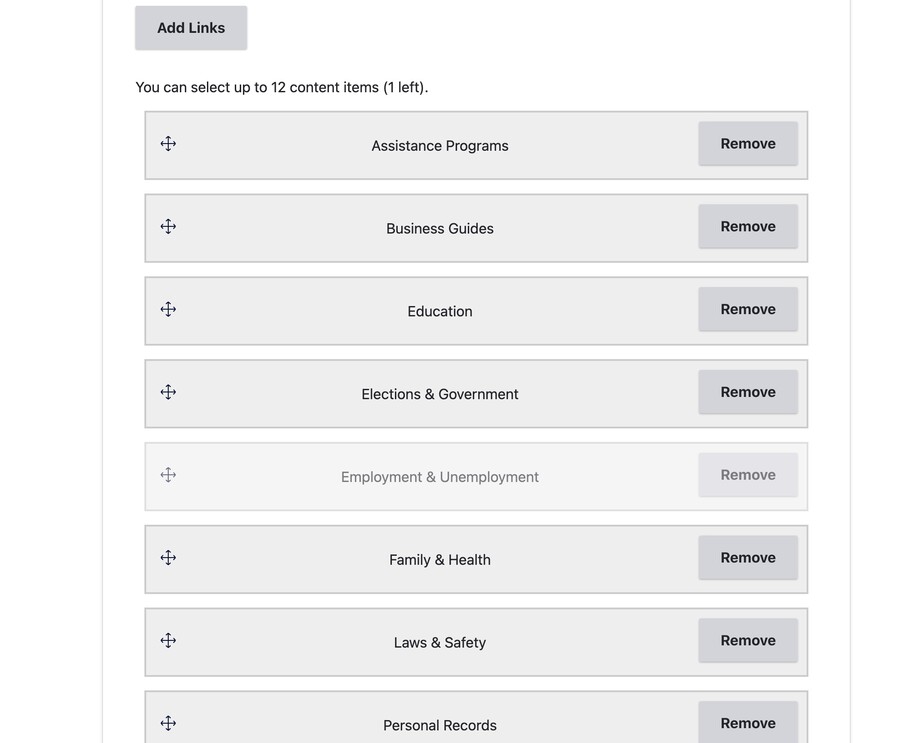
- Links: At least two links with no more than 12 links. Also create new links within this section
Visual Link Collection best practices
Visual Link Collections help organize disparate links into one unified whole. Links always include a visual component (an image) and may be placed on a Landing page. Links automatically break into 3 or 4 across.
A collection of content of type Link gets assembled into a Visual Link Collection.
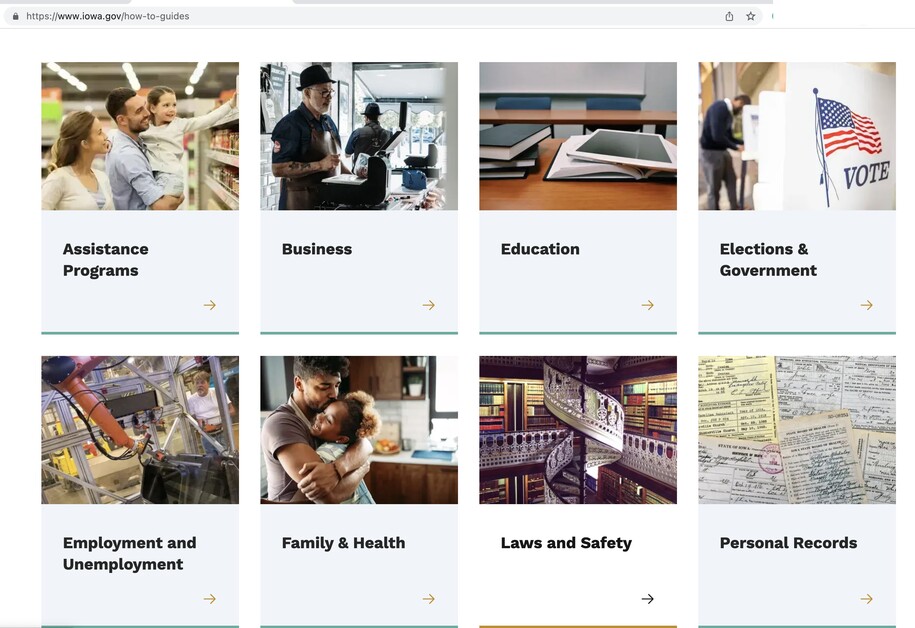
Each individual Link consists of a title, optional text, required image, and description.
If you are seeking images, choose from your approved stock photography provider, and save to your hard drive to add to the Media Library for your link. If you don't have a license for stock photography, you can submit a ServiceDesk Plus request with the photo ID for any image on Shutterstock.com for DOM DoIT to get the photo for you.
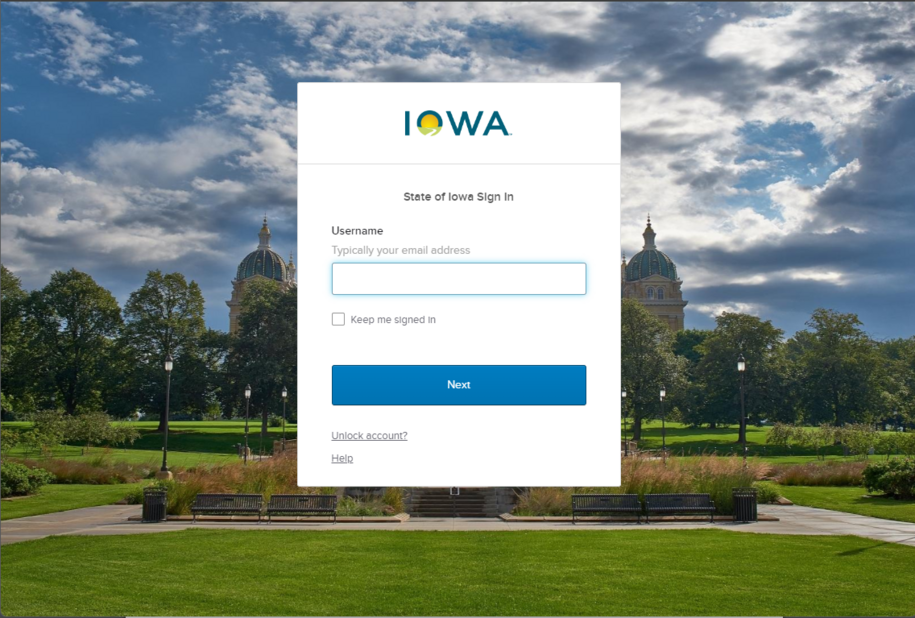
Login to your site
Make sure you are logged on to the VPN first.
You can login to your site from your Okta tile or login.iowa.gov.
Each person on your agency team has a specific user role for the website. These roles set permissions. They control who can write, edit, review, or publish content. You can ask for a role change or remove a role.
Submit a ServiceDesk Plus support ticket if you need help.
Create a Link first, all Links are collected into Visual Link Collections
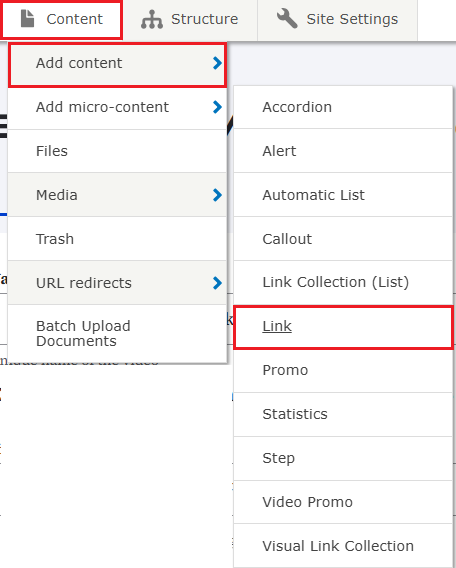
Select Content > Add Microcontent > Link and assemble all the pieces of your desired link together. Remember all links require an image.
Create a Visual Link Collection
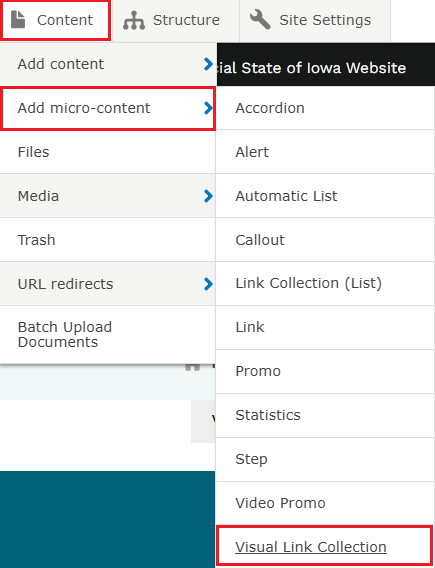
Navigate to Content > Add Microcontent > Visual Link Collection.
When you create the Visual Link Collection, you may then assemble all the desired Links you've previously created and sort them into the desired order.
Insert your Visual Link Collection
To insert your Visual Link Collection on a Basic page or Landing page, select the Insert Component icon from the WYSIWYG toolbar.
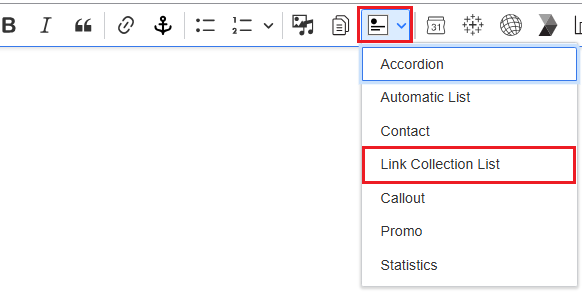
Select your desired Link Collection from the Link Collection library and it will be placed on your page.
Confirm your knowledge
Check out our YouTube video training page for step-by-step visual help with your website.