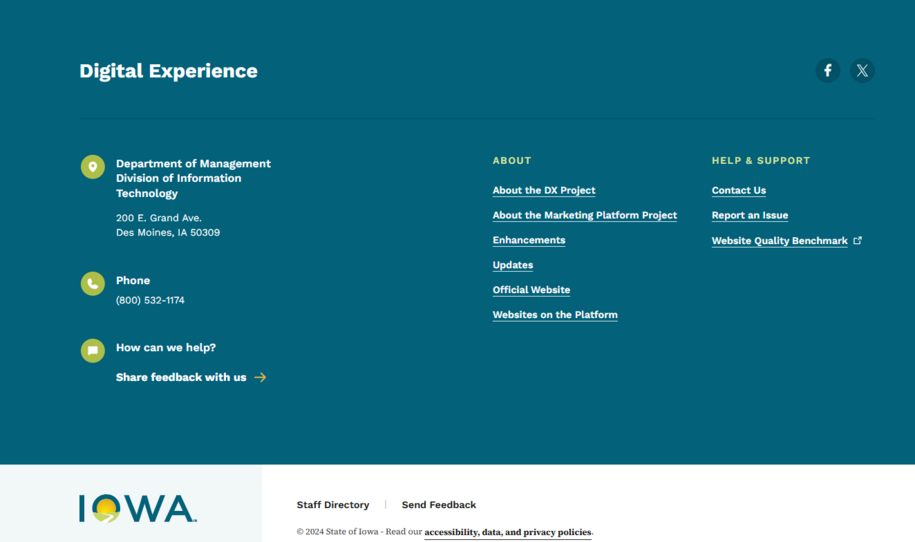
You can show contact information in the Footer menu. This includes the office location and/or contact details in the dark footer at the bottom of each page.
Any new agency site starts without a location type. It will have one once the agency manager sets a Primary Location.
Additionally, any new agency site will start with the default LinkedIn icon linked to Iowa's generic LinkedIn profile. This will remain until the agency manager names a Primary Contact.

Agency Managers can create a Location and a Contact. Then, they can select these in the Agency Settings to update the footer menu.
Create a new Location content type
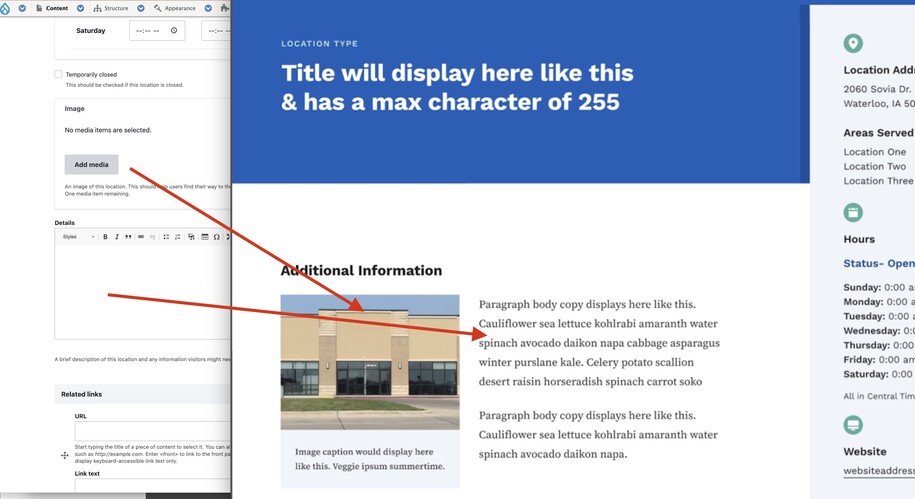
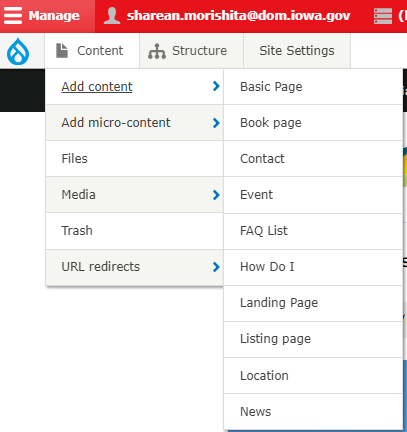
From the Content Tab, choose the Location type. Here, you can add the location's details, address, hours of operation, and note if it’s temporarily closed.
You can also include the optional “Areas Served” field. If left as “None,” this location will show in general area searches on the listing page.
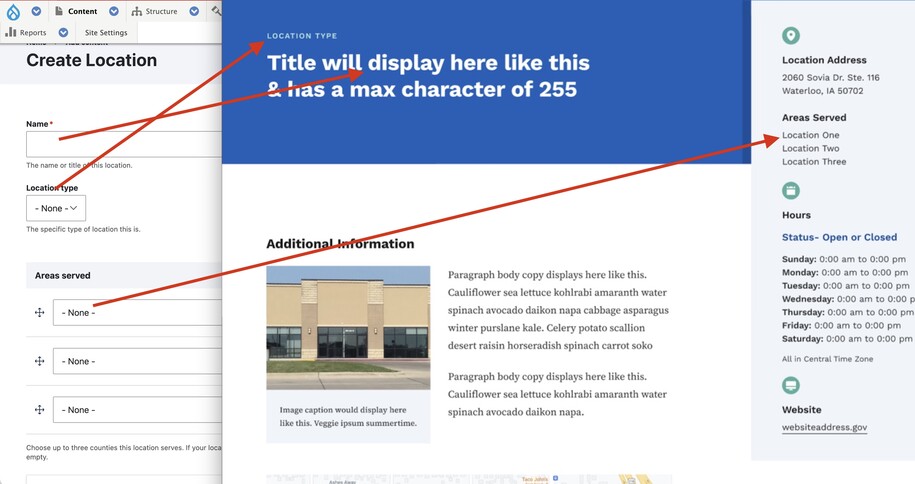
You can add details like images and other relevant info about your agency's location.
Create a new Contact
To create a Contact, click the Content button. Choose the Contact tab from the dropdown. This tab lets you create your new Contact page.
Many fields are optional. They may not be relevant based on the required or available information.
Note that there is a possibility to attach a location (such as a physical office or a mailing address) to a Contact, so you may first want to create a location (again, this is optional).
When you have finished creating the Contact, make sure to save changes.
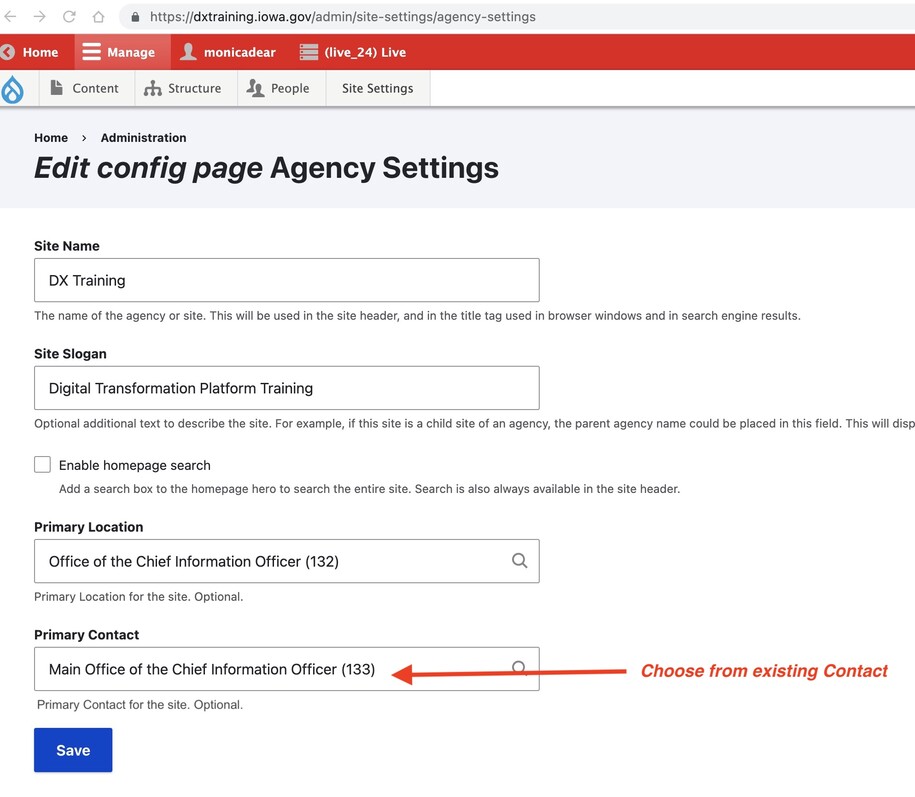
Set the Agency's Primary Location
To manage the "Primary Location" for an agency, go to Site Settings | Agency Settings. Then, choose the "Location" from your available locations using autocomplete.
Note you must first create a location ( Work with Locations) if you do not already have one.
Next, type in the name of your location, and it will populate automatically.
Set the Agency's Primary Contact
A "Contact" content type may allow for multiple phone numbers and social media icons.
When creating a contact to use agency-wide, embed the desired phone and social media icons (note, there can only be one of each, ie only one Facebook page).
Next, the agency manager can go to Site Settings | Agency Settings to choose the Primary Contact.