Purpose
Landing pages help users navigate and introduce topics related to the website or content featured on the page.
When to use a Landing page
Use the Landing page content type to quickly highlight various topics. It helps visitors connect to detailed info on Basic pages, News, Events, or Lists. The Landing page is not used to provide long text or detailed information.
For example, with a Landing page you can:
- Use drag and drop functionality instead of limiting your work to a text editor box.
- Use the entire width of a page, instead of just the space set aside for side navigation.
- Select from more defined sections (as opposed to a more fluid layout)
Important Note: Don't use a Landing page for low-level, detail pages or content that should use a specific, pre-structured content type (such as Event, News, How Do I, etc.)
Elements of the Landing page
The Landing page content type is a collage of smaller Microcontent placed on the Landing page. The header of the Landing page can have a Hero image.
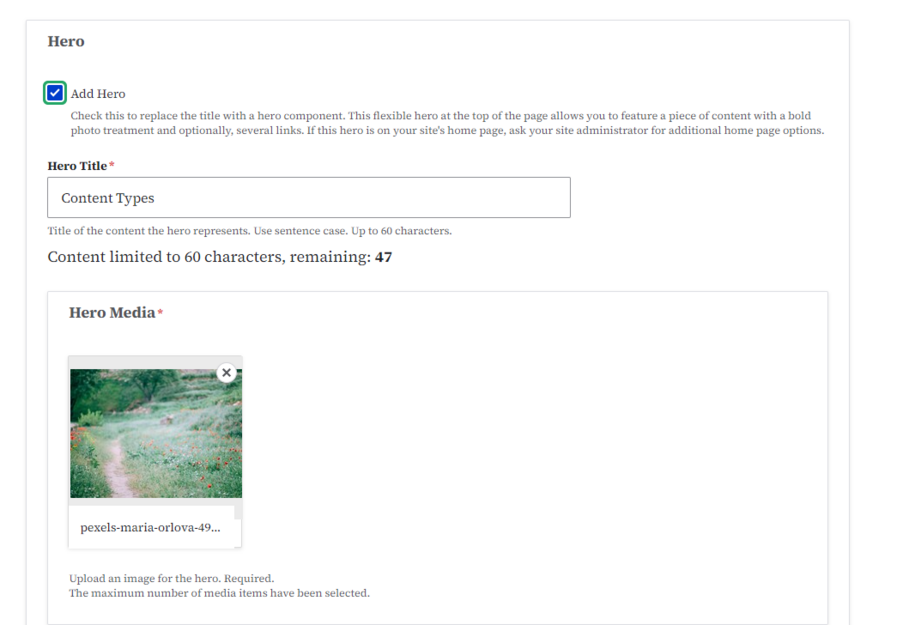
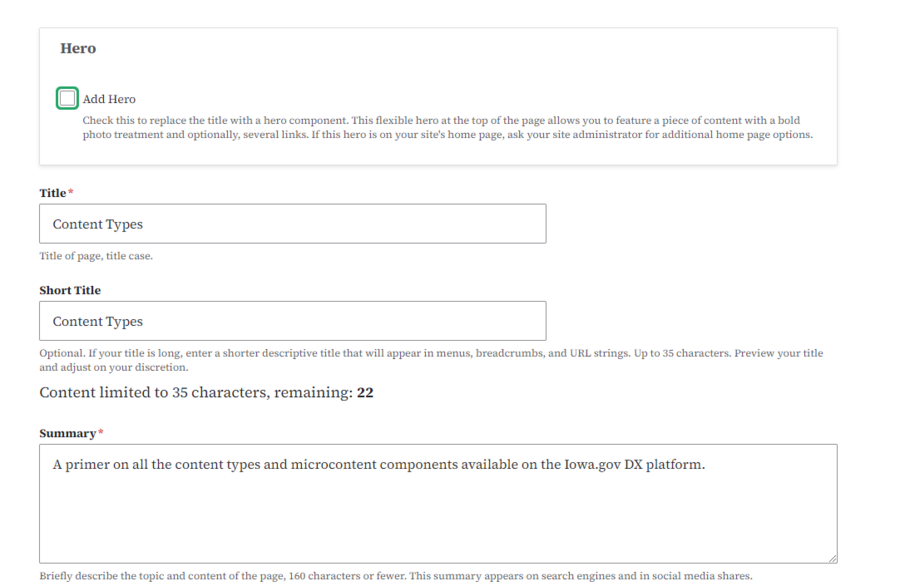
Using the Hero image checkbox will hide the Summary field. This means you won't see it on the Landing page, even if you've entered text in the edit section.
Landing pages are not intended to house content. Instead, they help users find related information. They serve as a starting point for different sections. Consider Landing pages as a hub of related content.
- Landing pages work well as the starting point for sections of information. They are typically high in the site navigation, have only short blurbs of text, and lots of links. Landing pages give you control over the layout with stackable sections.
- When developing a Landing page, use common language that is clear, concise, and action oriented.
- Allow for whitespace.
Do not include:
- Anything that will take much more than a quick glance to comprehend
- Anything someone wouldn’t understand if this is the first page they see on your site
- Insider jargon
- Detailed explanations or information
Tip: To use the Landing page, start by creating your Microcontent, like a Promo or Link Collections
There are 3 different background color selections that can be used within a Landing page. Here’s a list showing examples of different background colors for the Landing page and Microcontent:
- Landing Page Dark Background
- Landing Page Light Background
- Landing Page White Background
Adding more to your homepage
You can add extra Microcontent to your Landing page using the Layout button.
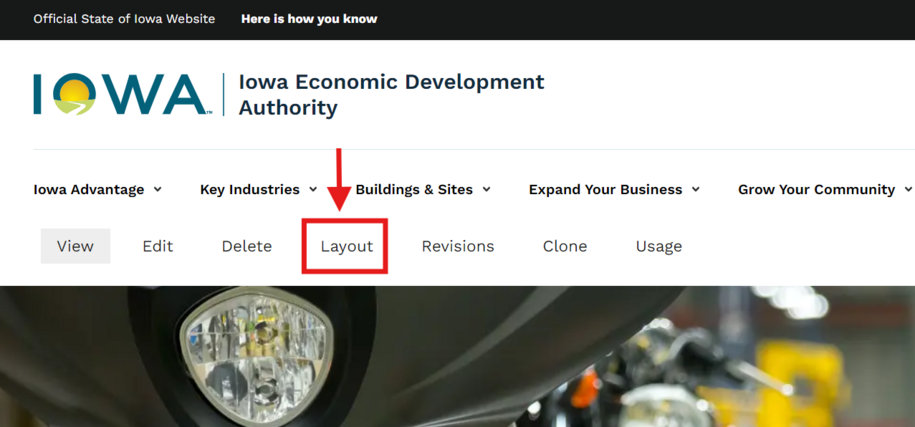
The current list of Microcontent that can be added to the Landing Page:
- ArcGIS Visualization
- Automatic List
- Data & Insights
- Callout
- Google Calendar
- Link Collection
- Power BI Visualization
- Promo
- Qualtrics Form
- Statistics
- Tableau Visualization
- Video Promo
- Visual Link Collection
Note: Video promos can only be used for Landing pages and cannot be embedded into other content types.
Login to your site
Make sure you are logged on to the VPN first.
You can login to your site from your Okta tile or login.iowa.gov.
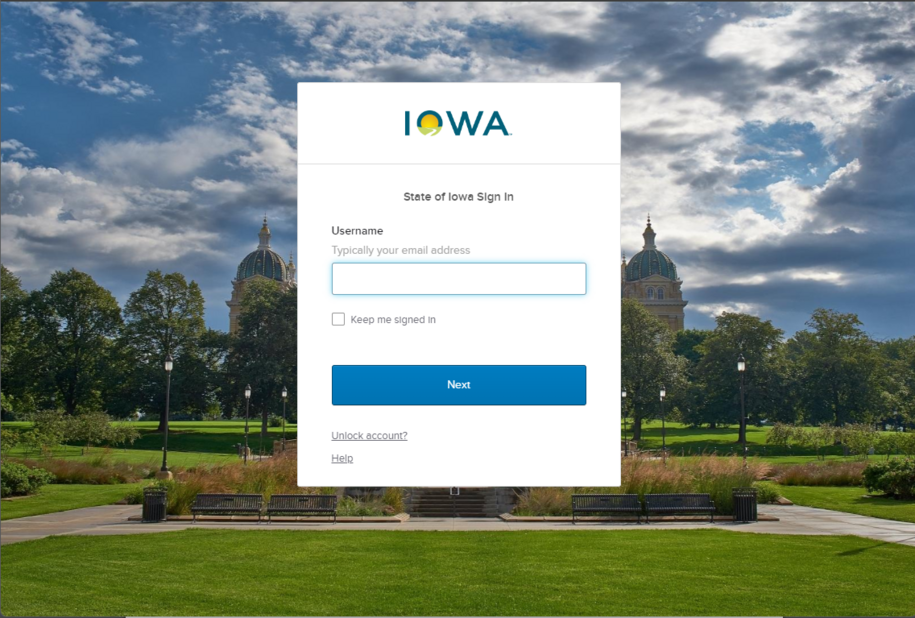
Each person on your agency team has a specific user role for the website. These roles set permissions. They control who can write, edit, review, or publish content. You can ask for a role change or remove a role.
Submit a ServiceDesk Plus support ticket if you need help.
Create a section inside a Landing page
You can create each Landing page as a series of sections.
A section may be white, light, or dark and will automatically be colored based on your color palette.
First, create a section and choose which color background you'd like. Put an Administrative label on the section for additional help with organizing your Landing pages. The Administrative label can only be seen by content managers.
Save changes frequently.
How to add Microcontent to a Landing Page
You can add every piece of Microcontent to an existing Landing page, with some exceptions. To do this, create a new block in each section.
First, create your Landing page. The Layout tab will appear. You can change the layout and design of your page.
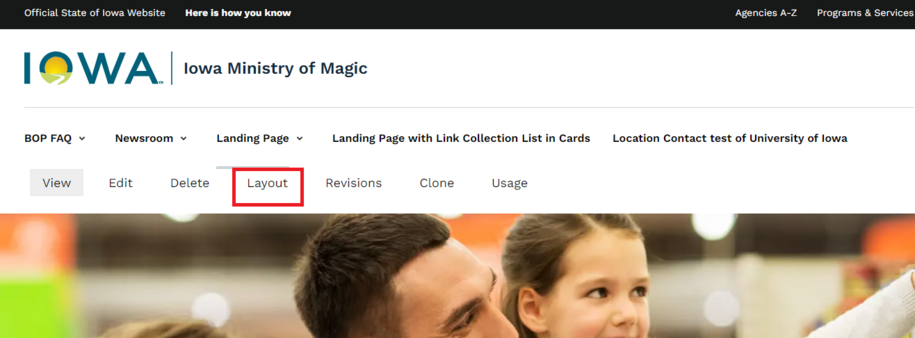
After creating your section, click Add section. You can choose your section's color. You'll see the Add block field to access your list of available Microcontent.
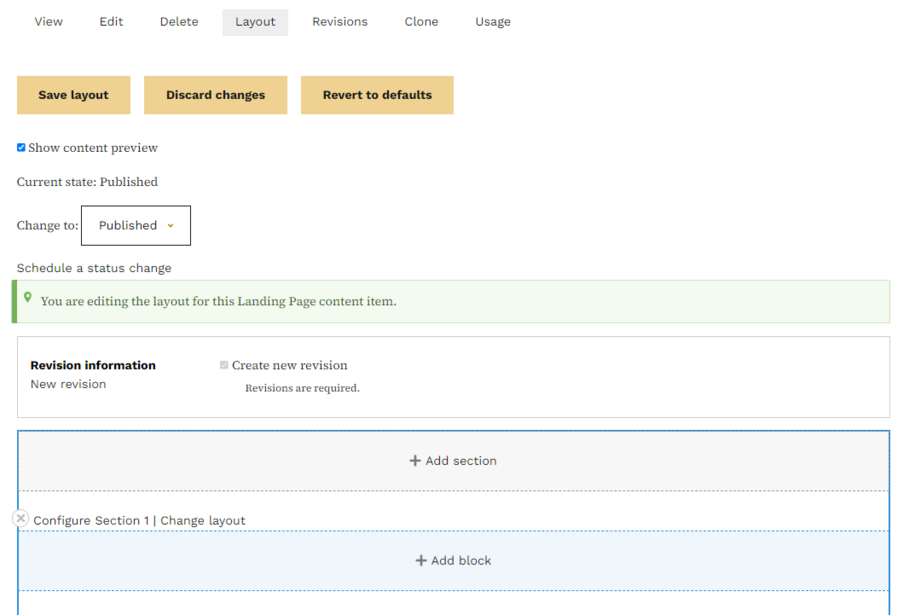
Inside that block, you may then choose which type of Microcontent you wish to place.

Only place one instance of any Microcontent. For example, don’t put three versions of the same Promo on a Landing page.
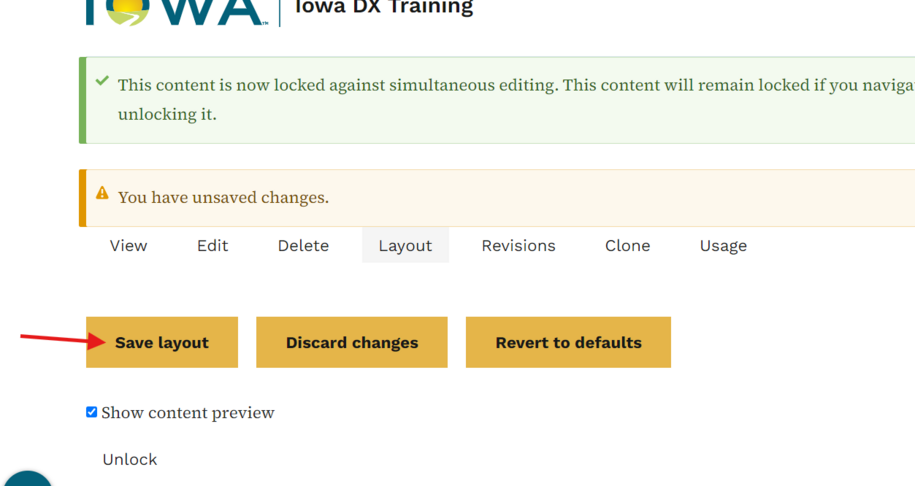
NOTE: Make sure to always select Save layout to save any edits or revisions you've made.
How to edit Microcontent on a Landing page
To edit Microcontent on your landing page, click the Layout button again.

After you select Layout, scroll down to the Microcontent. Click the pin icon and choose Configure.
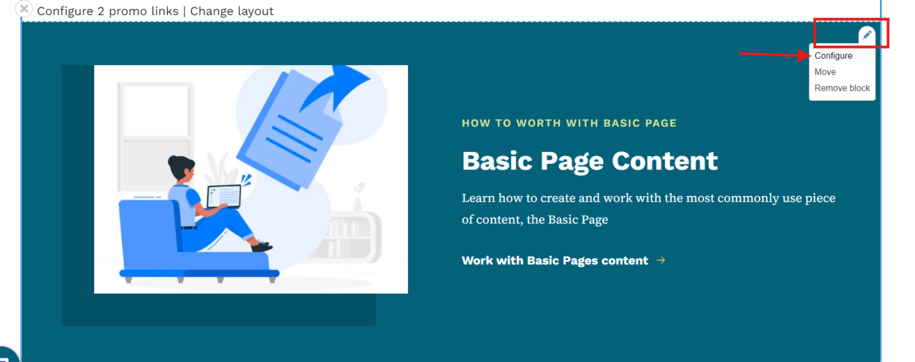
A pop-up will appear on the side. Select Edit to open the Microcontent and make your changes.
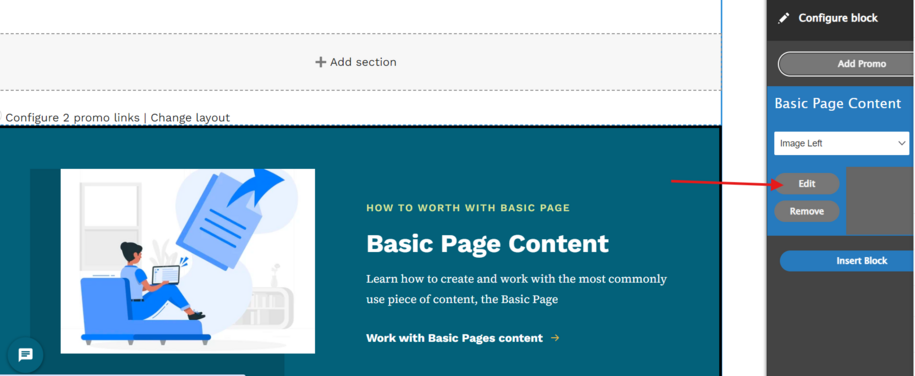
After you finish editing and save the Microcontent, click the Save layout button. This will update the Landing page.
