The Book feature works well for things like instructions or other documents that have lots of sections within sections, like a book with chapters, and each chapter with pages.
To create a Book, navigate to Content > Add content > Book page.
Login to your site
Make sure you are logged on to the VPN first.
You can login to your site from your Okta tile or login.iowa.gov.
Each person on your agency team has a specific user role for the website. These roles set permissions. They control who can write, edit, review, or publish content. You can ask for a role change or remove a role.
Submit a ServiceDesk Plus support ticket if you need help.
Create a new Book page
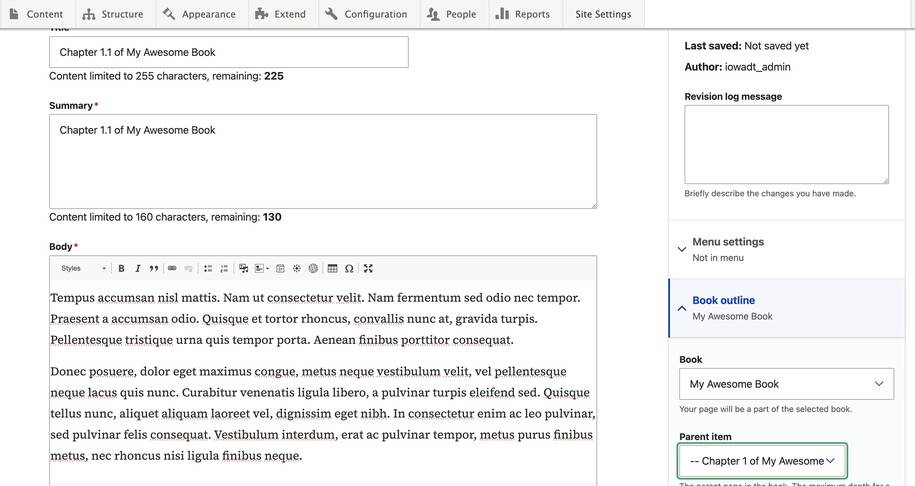
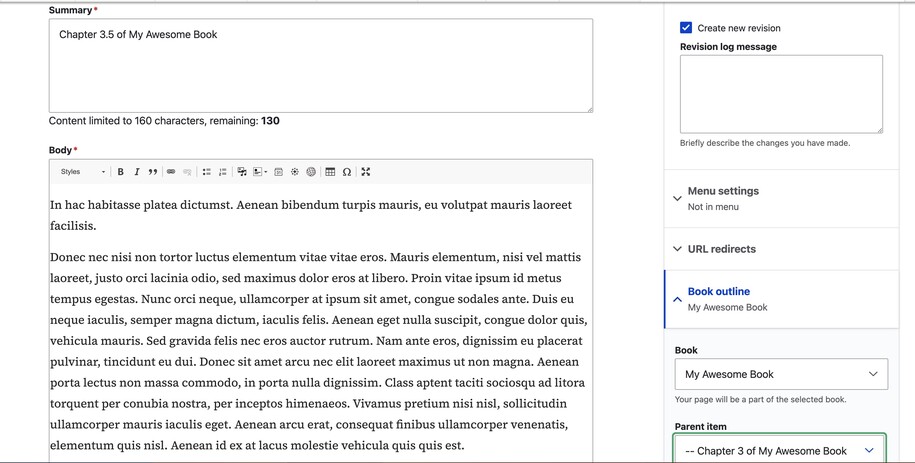
The best way to start is to create a Book page as a new item. From there, you may use the Book outline on the right-hand side to nest and order subsequent pages into that Book.
This is a Book with multiple chapters. Each chapter is a Book page. Inside each chapter, can be sub-Book pages. Use the right-hand Book outline menu to assign book pages to the correct chapter.
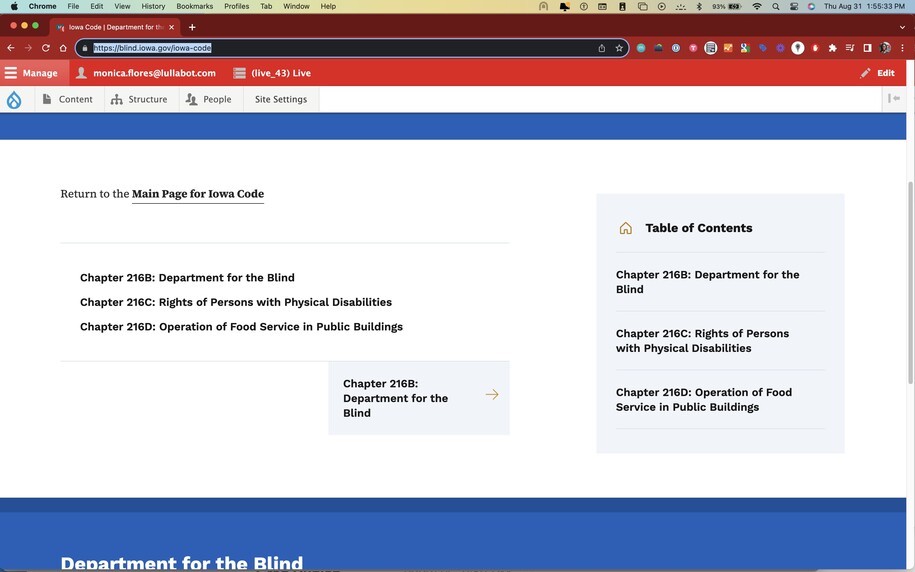
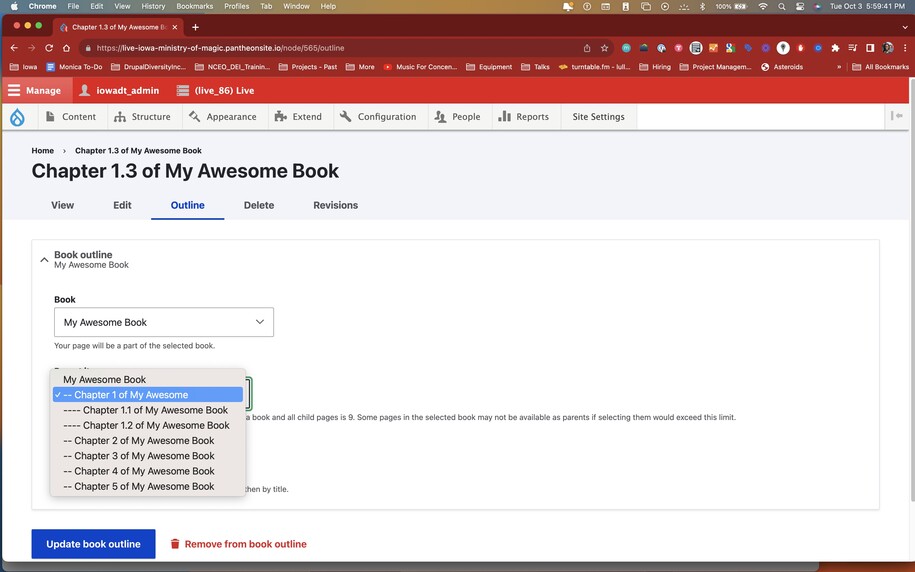
A Book page may be promoted up to being a chapter heading, or it can be demoted to being a regular Book page. Hierarchy may be determined using the Outline tab, or on the right-hand sidebar Book outline.
Using the Book Outline
Each page in the book can be either:
- A whole new book: Like starting a fresh story.
- A new chapter: Like a new part of the same story.
- A sub-chapter title: Like a mini heading within a chapter.
- A regular page: Like any other page inside a chapter, sub-chapter, or even the new Book you started.
All the pages in a book are connected by field in the sidebar called a Book Outline.
The pages in the outline are put in order, like a list. Pages with lower numbers come first, like they're floating at the top, and pages with higher numbers come last, like they're sinking to the bottom.
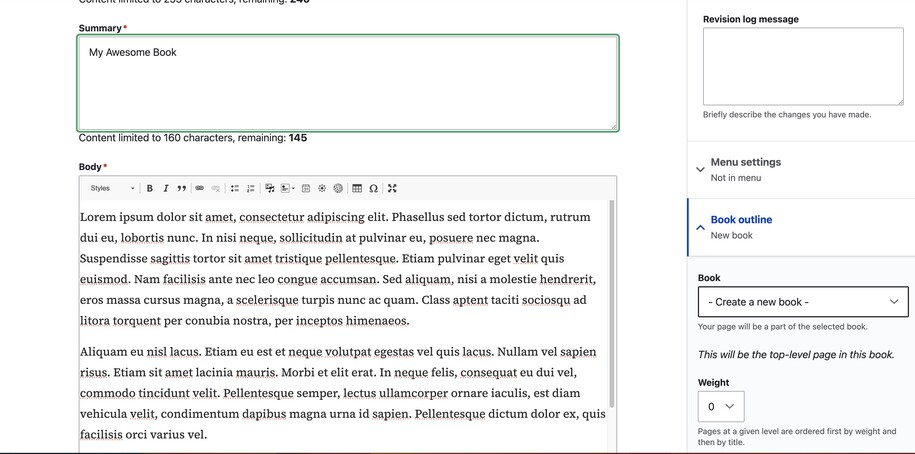
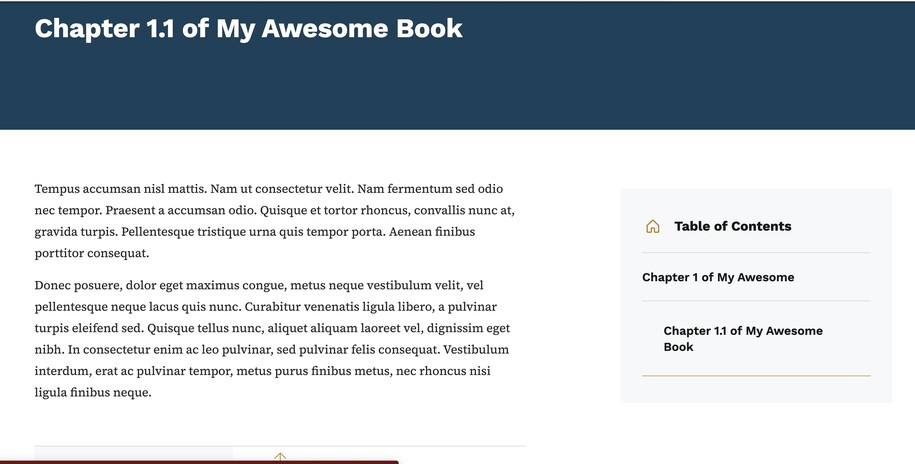
After creating the Book page in the right-hand-sidebar, that Book-related page now exists within your website.
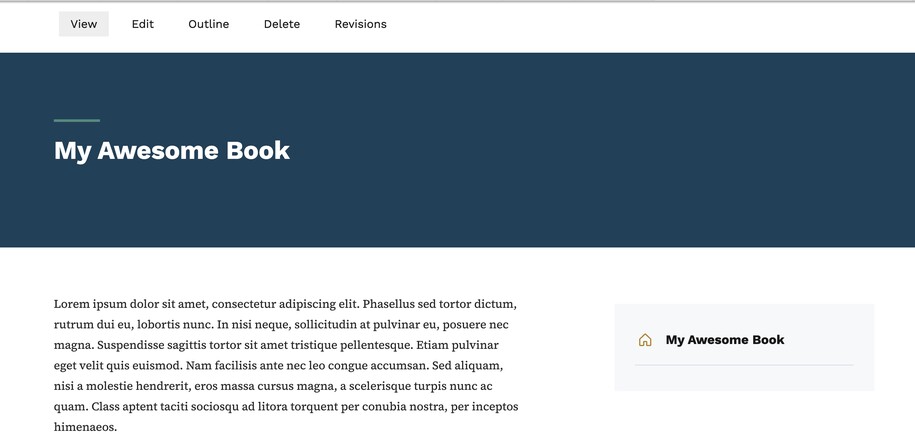
From here you may then create additional book pages and then reorganize those pages using the Book outline field.
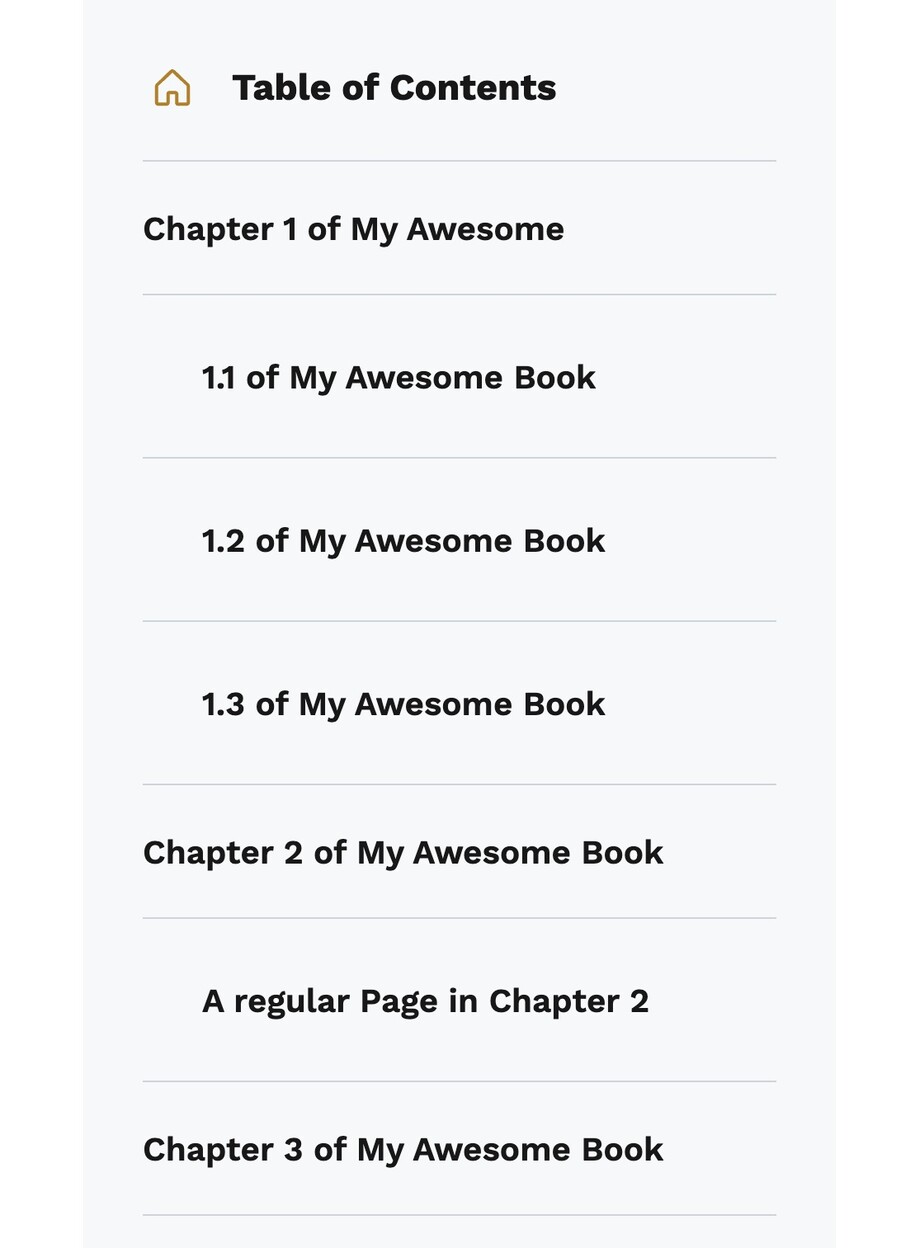
At the end the Book will have chapters, optional sub-chapters, and pages.
Rearrange Book pages
For Book pages, because each individual book page exists as its own page, you are able to reorganize the placement of an individual Book page. For example:
- Changing an individual Book page to be a new Chapter.
- Moving a Chapter heading page to be a regular Book page.
- Changing an individual Book page to be a new Book entirely, which will then have its own chapters and pages.
Rearrange the Book page order
You can move any Book page around, up or down, in your list.
It's okay to make all your Book pages first, then put them in order later.
You don't need to make the pages in order. You can use the Book outline to arrange them and make them subchapters if you want. But remember, it's best to keep things simple with a maximum of three levels: Book > Chapters (optional Sub-chapters) > Pages.
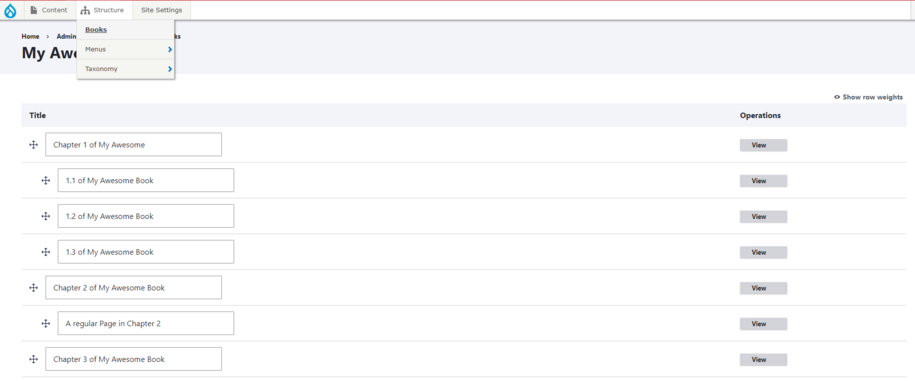
You can change the order of the chapters in your Book. Just use the Book Outline section on the side of the page where you edit the Book.
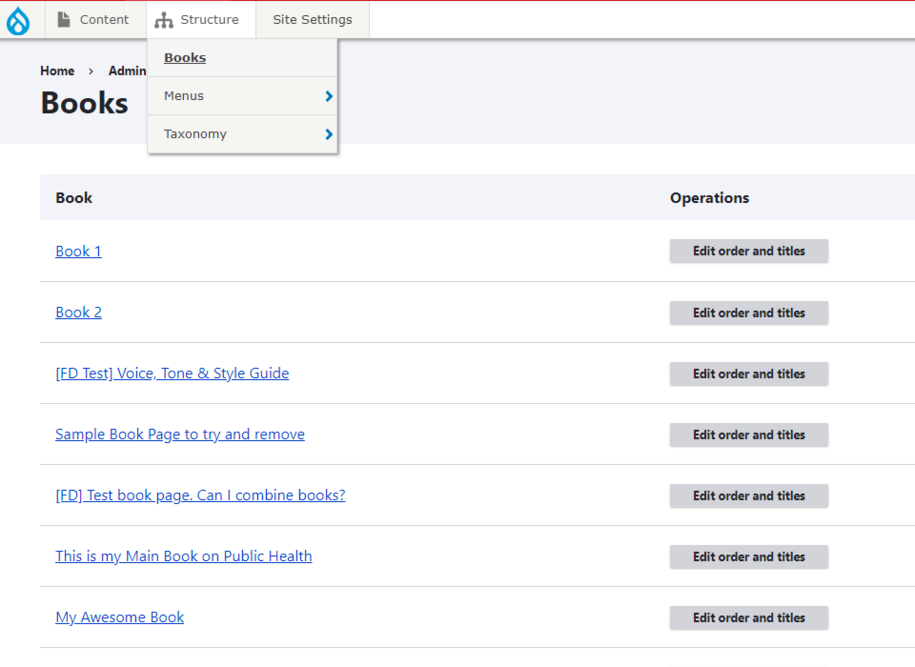
You can drag and drop chapters to reorder them in your Book. Just go to the structure tab, then Books, and click the edit order and titles button. After that, you can start dragging and dropping the pages.
Confirm your knowledge
Check out our YouTube video training page for step-by-step visual help with your website.