Contacts are usually people. Sometimes they can be a position, like Public Information Officer, linked to your agency. We have seen the Contact content type used for people like executive staff, leadership, board members, or other key contacts.
There is an available details text field with a WYSIWYG bar which allows for bullet points, image embeds, and tables for Contact types. Agencies can use this field to include any additional information needed for that Contact.
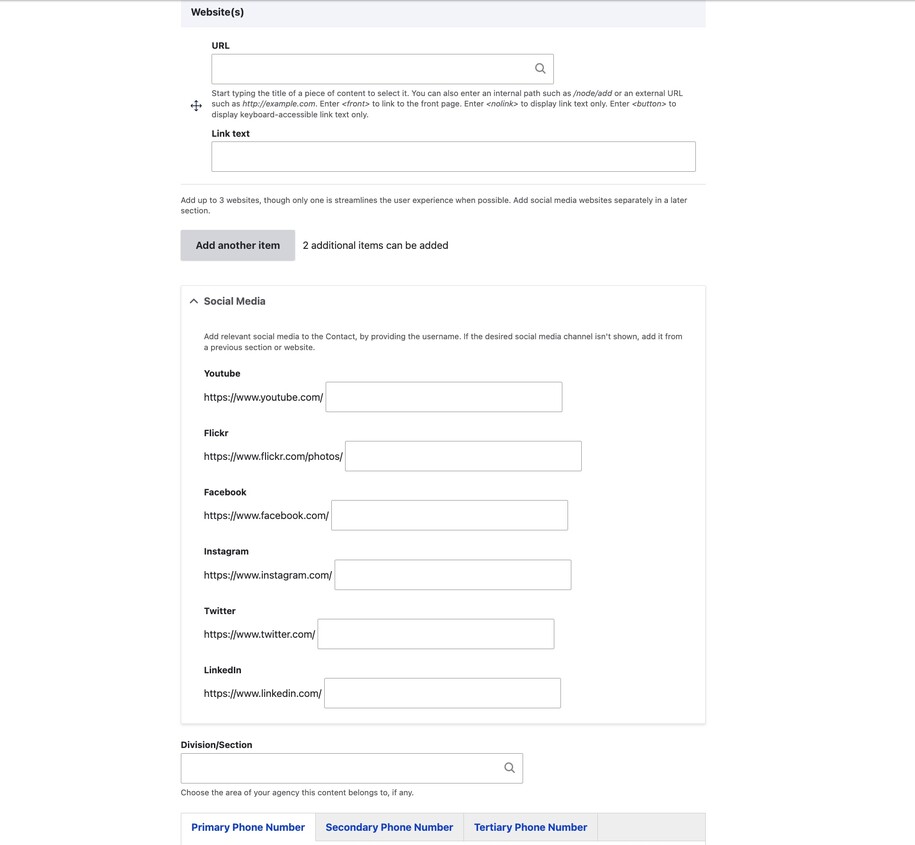
The contact includes a name, position, location, social media links, and phone number. Most of this information is optional. Use this Contact content type to highlight your important people.
Note that the Contact content type is not a form, it is a stand-in for a person or position.
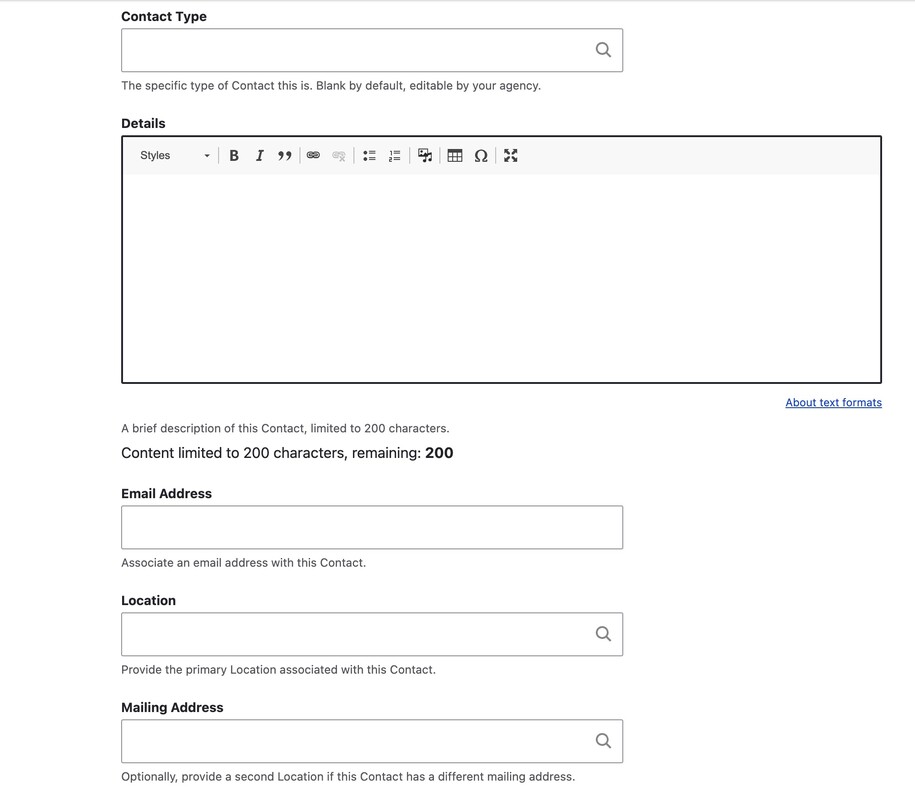
Contact Types are an optional filter to be decided by the Agency Manager in the taxonomies section available to users with the role of Agency Manager.
Different types of contacts might include Board Members, Public Information Officers, IT Staff, Remote, Onsite, or any type of categorization that makes sense for your agency.
Note that the Division/Section taxonomy terms also apply for the Contact content, in which case you may want to have the Agency Manager first specify divisions/sections. Contacts may then be slotted into those categories, such as BOEE, Iowa College Aid, or other divisions inside the Department of Education.
Login to your site
Make sure you are logged on to the VPN first.
You can login to your site from your Okta tile or login.iowa.gov.
Each person on your agency team has a specific user role for the website. These roles set permissions. They control who can write, edit, review, or publish content. You can ask for a role change or remove a role.
Submit a ServiceDesk Plus support ticket if you need help.
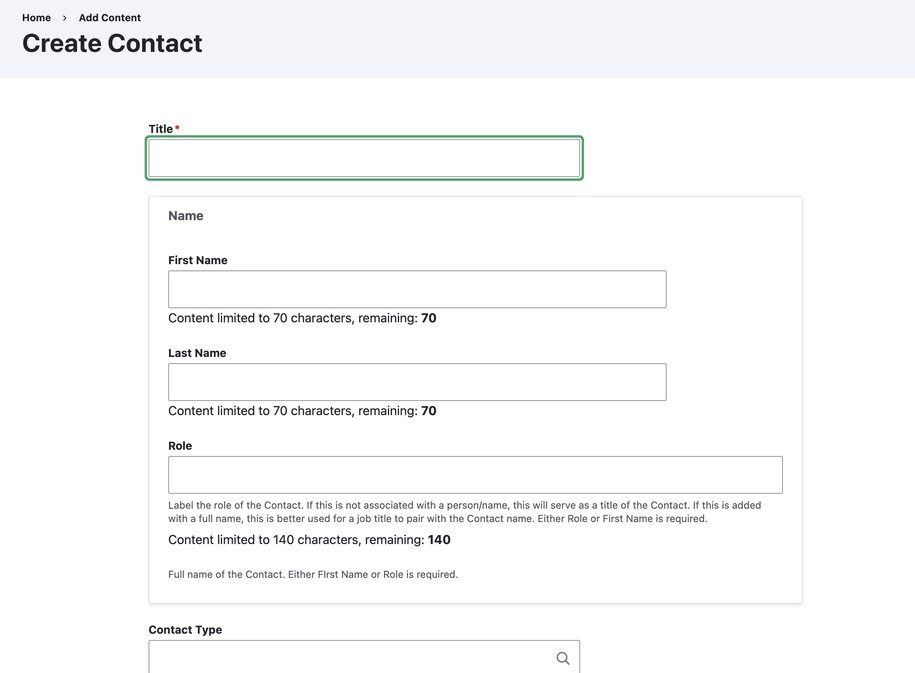
Create a new Contact
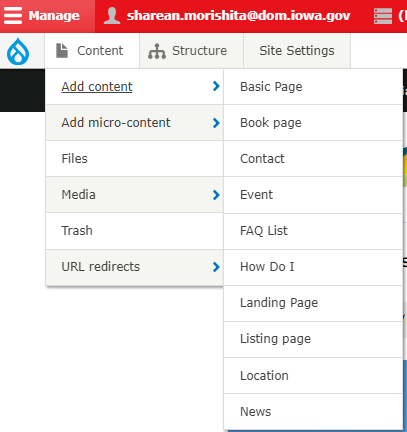
To create a Contact, click the Content button. Choose the Contact tab from the dropdown. This tab lets you create your new Contact page.
Many fields are optional. They may not be relevant based on the required or available information.
Note that there is a possibility to attach a location (such as a physical office or a mailing address) to a Contact, so you may first want to create a location (again, this is optional).
When you have finished creating the Contact, make sure to save changes.
How to add phone numbers to Contacts
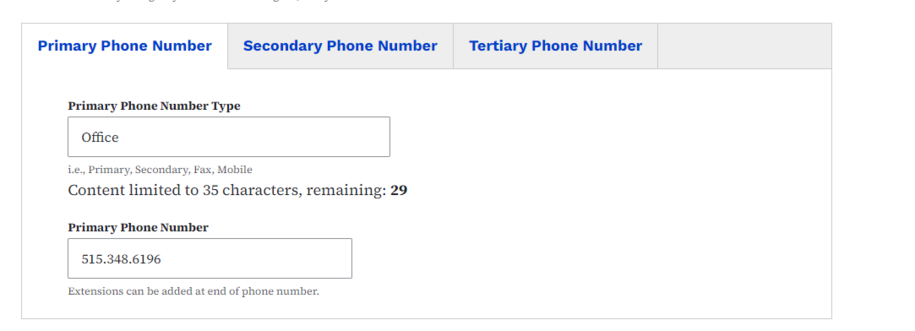
To add a phone number to your Contact page, first check the Primary Phone Number Type field. Specify whether it’s an Office, Fax, or Primary contact. You don't add the number within that field
The field below that says Primary Phone Number will be where you can add the Contact number.
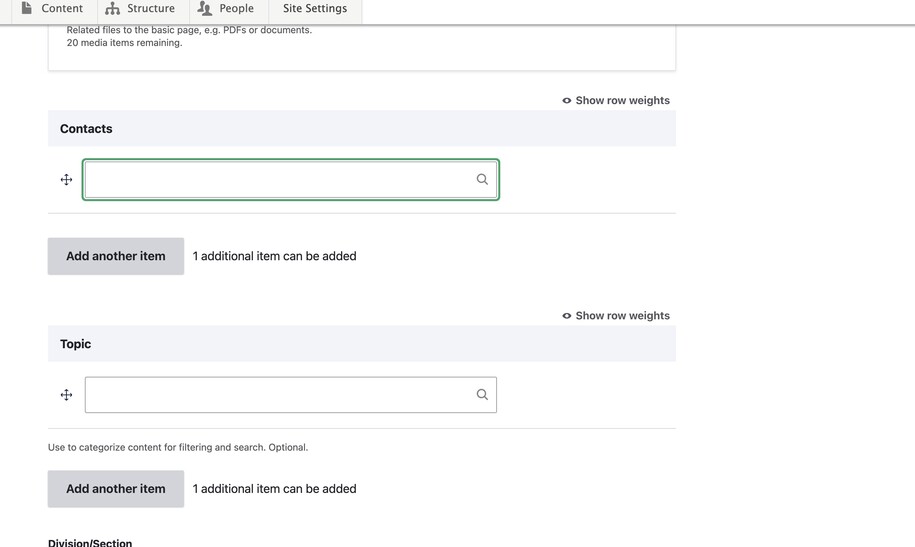
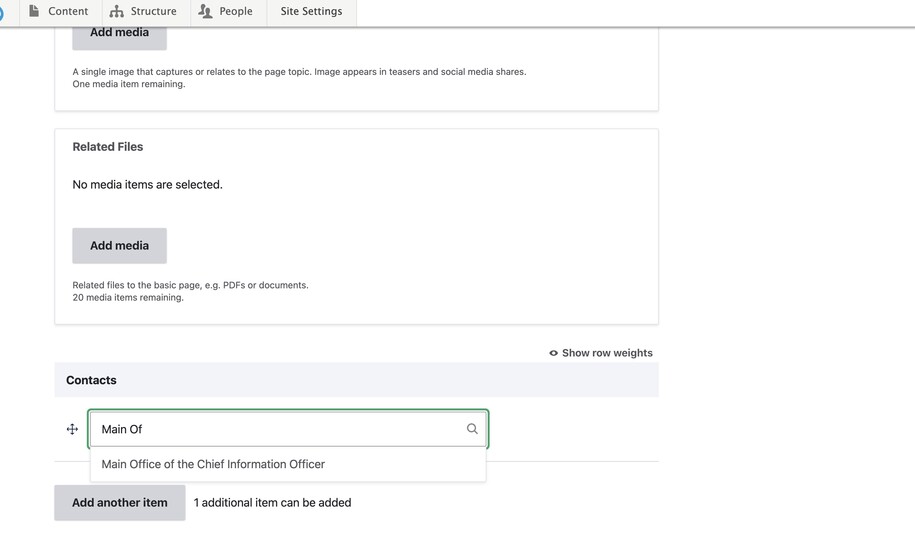
Add a Contact to a Basic page in the Related Contacts section
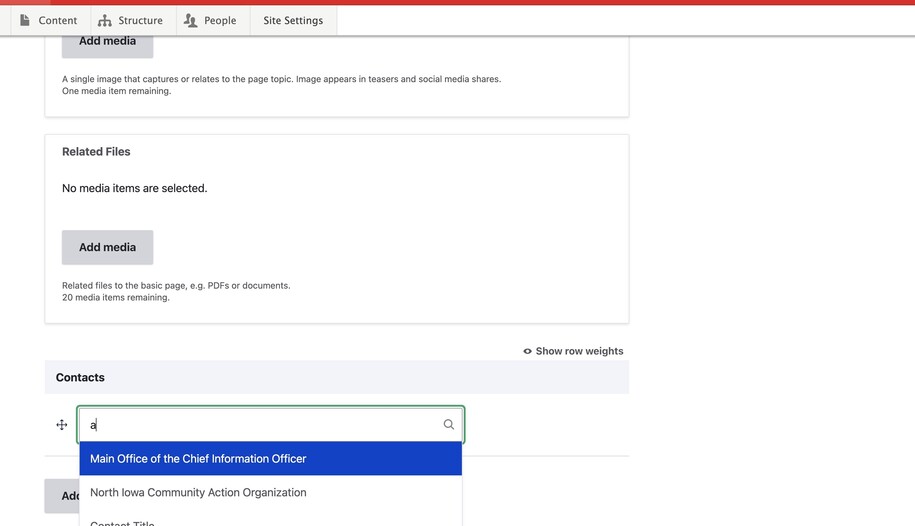
At the bottom of a Basic page is a way for you to add up to two Contacts.
This is an auto-populated list that pulls from existing contacts. Please create the contact first if you intend to link to the contact. Just start typing the name of the Contact page you've previously created, and it will populate it with the correct link.
Use this field if you want to add the Contact towards the bottom of the page.
Remove a Contact from the Contact field
To remove a contact from the Contact field on a Basic page, place your cursor inside the field. Then, backspace to delete the Contact completely.
When the Contacts field is empty, save changes in order to save your work. The contact will no longer appear.