Purpose
Images on your webpage can add clarity or visual interest to your content.
One of the easiest ways to add images to your content is by using the Insert Media tab. After embedding an image, you can align it to the left, right, above, or below your text.
Tip: When uploading media, use clear, unique file names to keep your media gallery organized and easy to navigate.
Note: If your image doesn’t align correctly or the thumbnail size looks off, please visit our Report an Issue page for help.
How to embed images
- Within the WYSIWYG tool bar select the Insert Media button.
- Within the pop-up that appears, you can either upload a new image or select an image from your website's media gallery.
- Click 'select' and it will embed the image into the body of your content.
Example: WYSIWYG Insert Media Tab
Example: Embedded Image
How to align an image around text
Once you’ve embedded an image, you can adjust its alignment:
- Click on the image you want to align.
- A small toolbar will appear with alignment options.
- Click an alignment button to adjust how the text flows around the image.
Note: By default, embedded images are set to break text (as shown below).
Alignment options
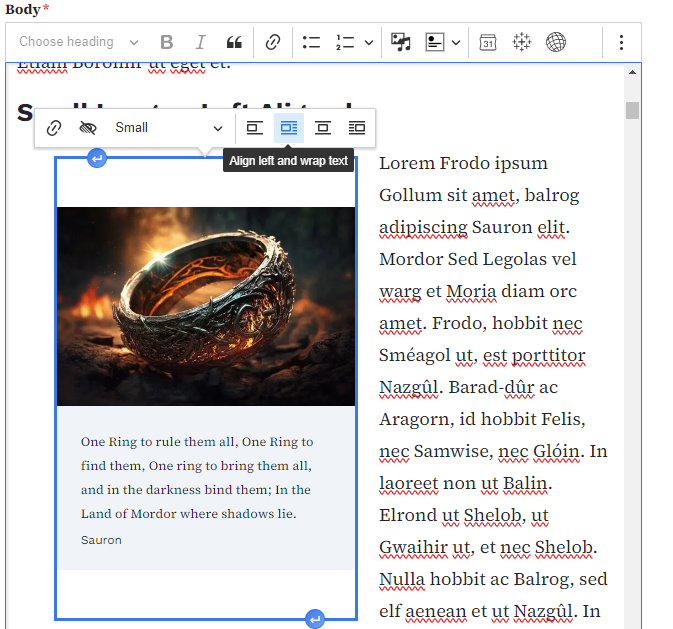
🔹 Align Left: Click the "Align left and wrap text" button bar once you have the image selected to align the image to the left of your text.
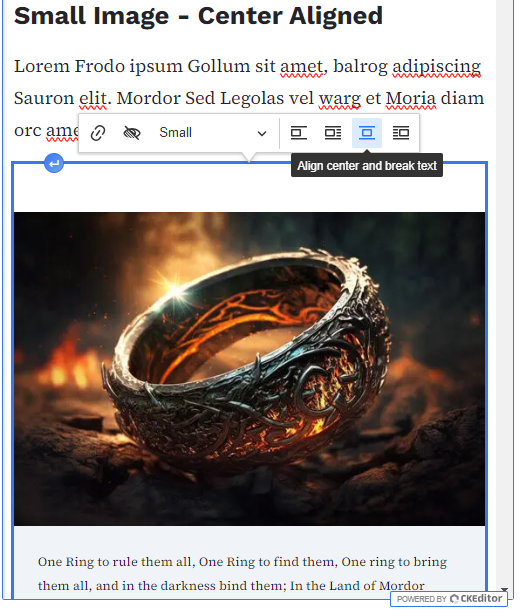
Align Center: Click "Align Center and break text" button to center the image within your text.
Align Right: Click "Align right and wrap text" button to align the image to the right of your text.