Your website holds information about your agency and the services it provides. Some of this information is available through documents, images, videos, and more. This page will show you how to add a media item to your website.
When to Use
You can upload files with a size of up to 100MB to the Media Library on the DX Platform. You can use these files in any content where media can be embedded or referenced of media.
Note: You have the option to overwrite media files. Read How to Replace or Update Media Items if you want to replace an existing media item.
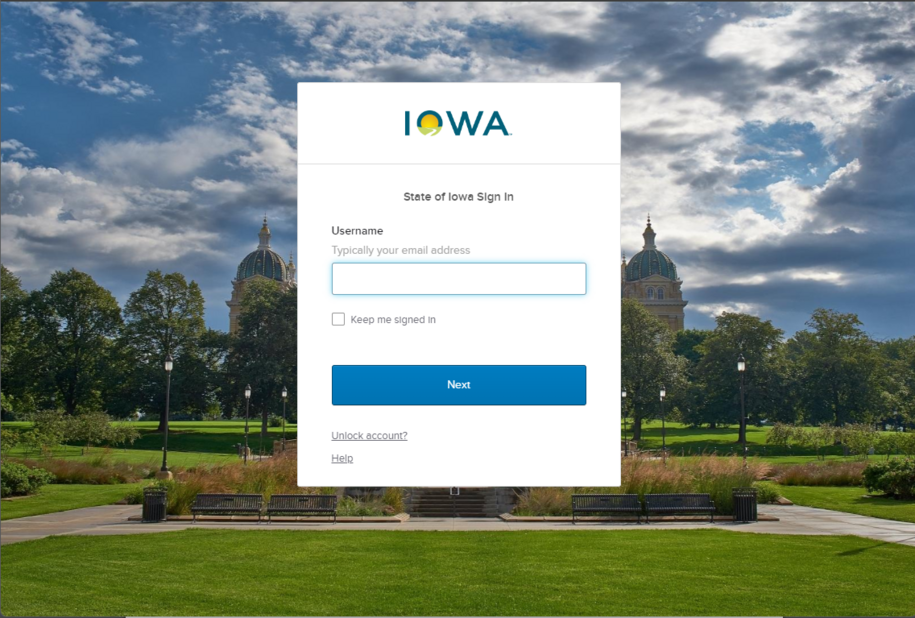
Login to your site
Make sure you are logged on to the VPN first.
You can login to your site from your Okta tile or login.iowa.gov.
Each person on your agency team has a specific user role for the website. These roles set permissions. They control who can write, edit, review, or publish content. You can ask for a role change or remove a role.
Submit a ServiceDesk Plus support ticket if you need help.
Add media to the Media Library
Note: You can upload and add media items while creating or editing content.
Select the type of media item to add
Choose the desired media type on the Add media pop out or after selecting the Add media button within the Media Library.
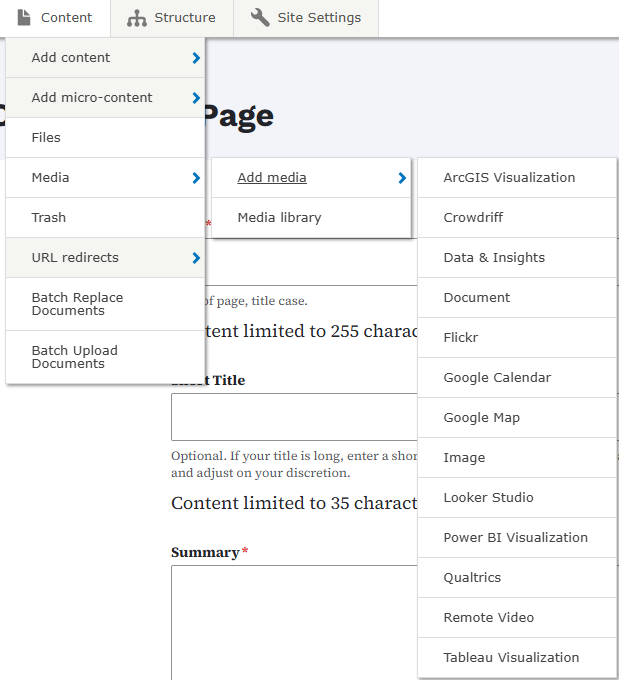
Each media type has different step-by-step instructions on adding each new media item.
- This is the current list of media items that are available to upload to the Media Library:
- ArcGIS Visualization: Embed an ArcGIS map or app on a page easily, just providing the URL.
- Crowdiff: Embed a Crowdiff ID
- Data & Insights: Embed a Data & Insights widget
- Document: A downloadable document, like a Microsoft Word file or PDF
- Flickr: Embed a Flickr image or slideshow from a URL embed
- Google Calendar: A Google Calendar from a embed URL
- Google My Map: Embed a public Google My Map embed URL
- Images: An image to be used in your site
- Power BI Visualization: Embed a Power BI visualization on a page using the visualization URL or embed code
- Qualtrics: Embed a Qualtrics embed from a URL
- Remote Video: An embedded remote video from a site like YouTube or Vimeo from a URL
- Tableau Visualization: Embed a Tableau visualization on a page easily, just providing the visualization URL
After adding your media and entering any required and optional information, be sure to click the Save button at the bottom of the page.