How to safely delete files from your site
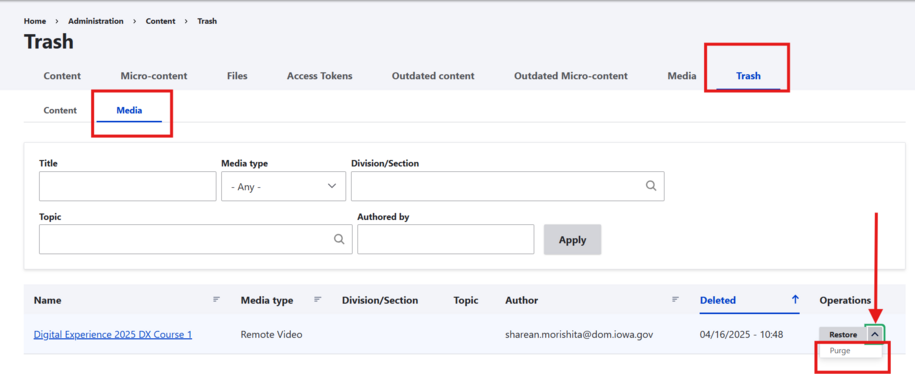
You can safely delete files that you've uploaded onto your site within the Media tab by selecting the little arrow next to the edit button of the file you want to delete.

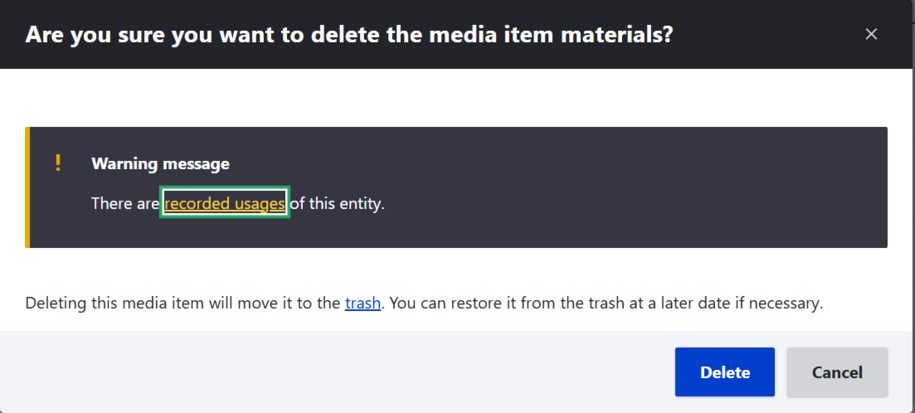
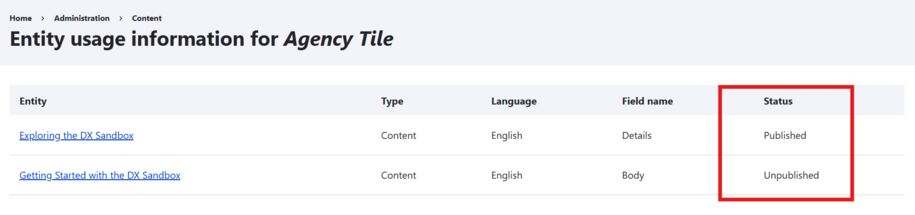
It's important to make sure you are not deleting media that is being used within microcontent or other pages. You will know if a media item is being used when you click on the delete button and a pop-up alert appears that says there are recorded usages of this entity.
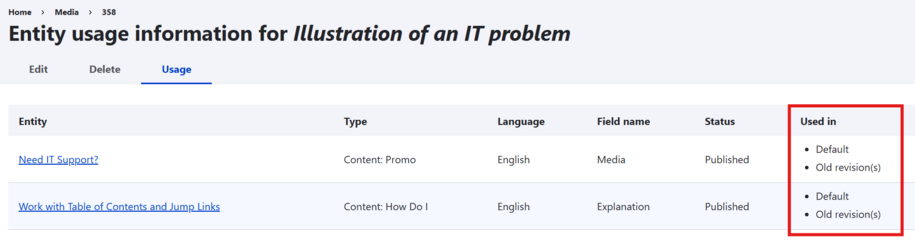
Click the recorded usage link. This will show you a list of content links. These links will tell you where the media is being used. If there is a 'Used in' row that shows 'Default' or 'Old revisions,' then that item is safe to delete because it's not being used on the current live version.
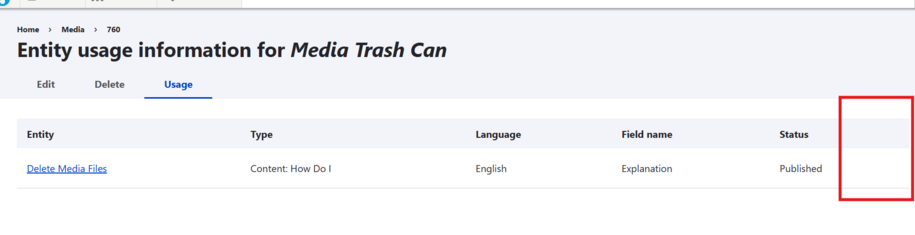
But if no 'Used in' row appears and only the 'Status' row is showing, that means the media is being used on a live page. Remove the content from that page first, then you can safely delete it from the Media Library.
What happens if you delete a file that is being used?
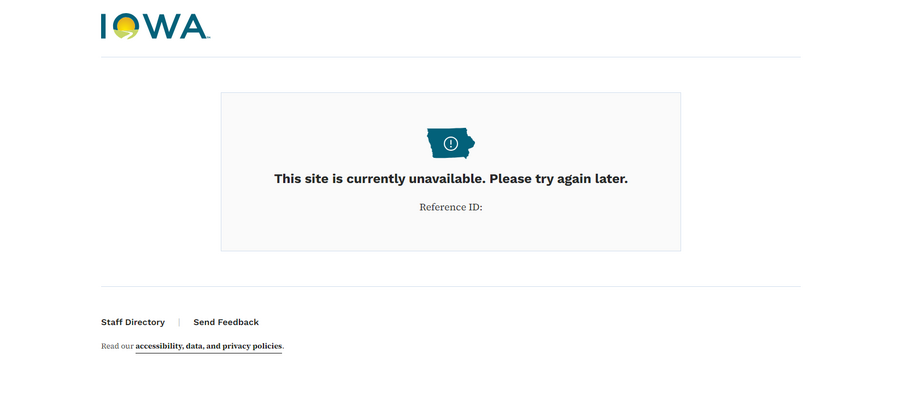
For example, a common "Site unavailable error" happens because a file was deleted when it was being used within a Link Collection list. Since the Link Collection list now has a broken link within it, the page crashes and causes the "Site unavailable error."
You might see this error message if you go back to an earlier version of a content type or microcontent type using the revisions tab. Reverting the previous revision that linked to the deleted file risks creating a broken link.
If link collection Microcontents have links to deleted files, it can cause the page with the link collection to show a "Site Unavailable" error. A good rule of thumb is to make sure to check your links within the revisions before you revert back to the old version.
Things to note about permanently deleting media
When a file is added to your site, it is saved as a media item and then added to your Media Library. You can permanently delete files from your site by deleting the media item from your Media Library.
If you have a media item you no longer need, move it to the trash. It won’t show up in your Media Library anymore. However, the file will stay in the trash for 30 days. After that, it gets permanently deleted automatically.
You can also delete media sooner by clicking the purge button within the arrow icon. Once it is purged from the trash, that file will be permanently deleted from the site and should not appear within the Files section either.
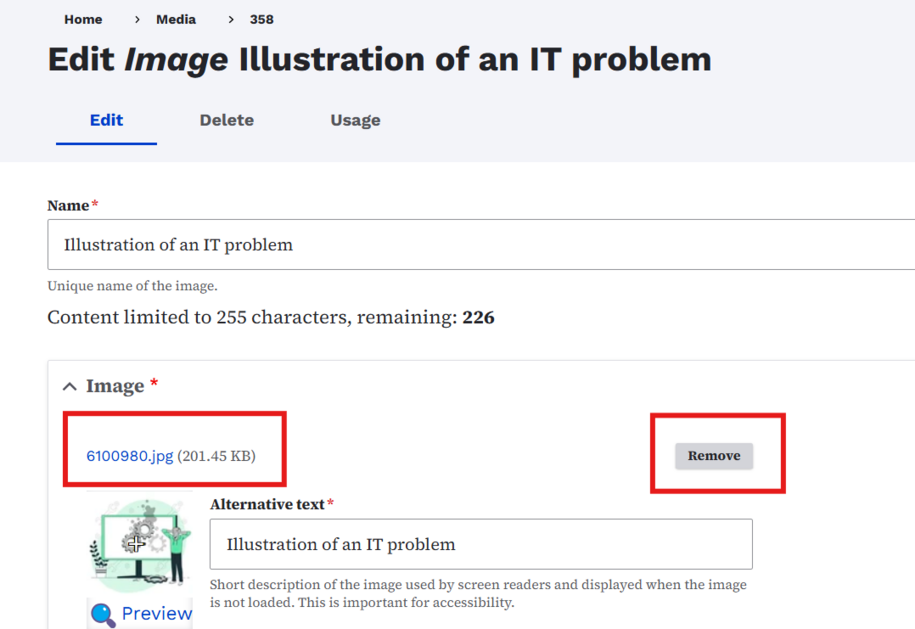
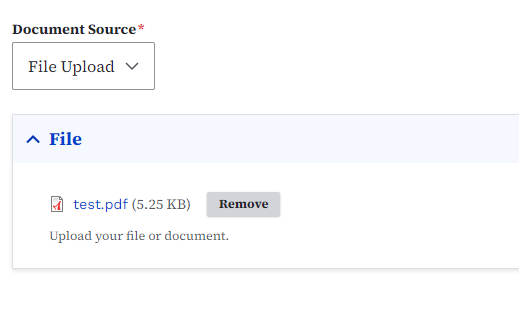
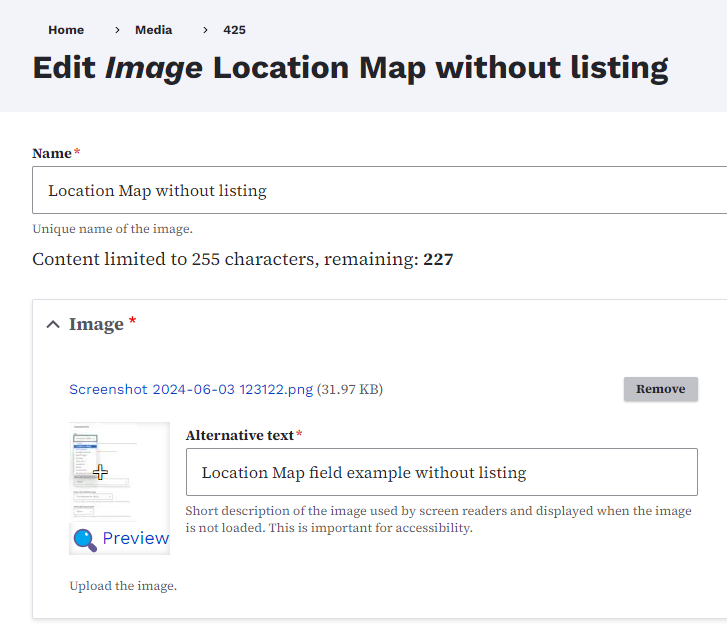
There is a remove button that is within the media item edit page but removed button unlike the delete button the remove button is specifically used for those who need to update outdated or non-remediated image and document files that is currently within the media item.
Learn more about the steps on how to update Document files
Do:
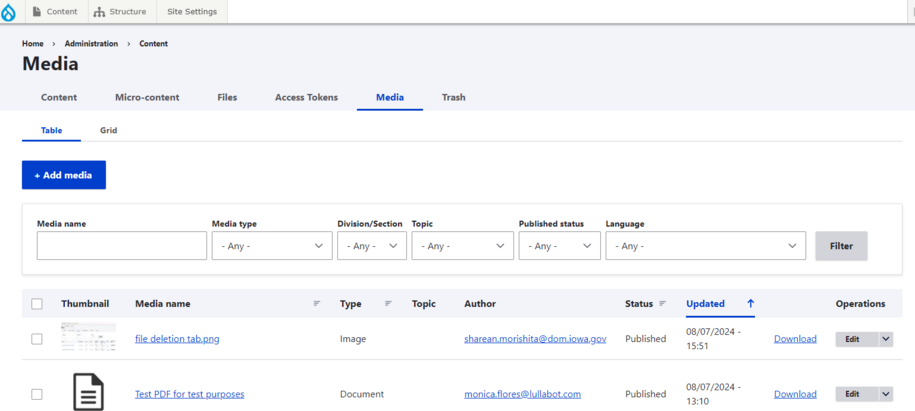
- Use the Media Library edit button in the 'Operations' row to update any documents or images that have been added to the media library.
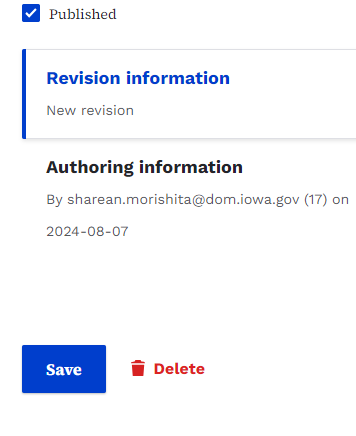
- Use the 'Delete' link next to the 'Save' button to properly and safely remove media and have it moved to the trash.
Don't:
- Click the 'Remove' button next to the file name within a media item and click Save.' This will not move that media to the trash. It only removes the file from the media container. This will then lead to broken links and a broken site. The 'Remove' button is only used for updating old files that are currently live on the site with new files.
Author role for file deletion
Author Role | Direct Link to a direct image or document | Add item using Media Library | Link to any Media Library item (Linkit link) | Unpublish THEIR OWN Media Library item | Unpublish ANY Media Library item | Delete THEIR OWN Media Library item (goes to Trash) | Delete ANY Media Library item (goes to Trash) | CAUTION | CAUTION |
|---|---|---|---|---|---|---|---|---|---|
Anonymous | LEGACY | ❌NO | ✅YES | ❌NO | ❌NO | ❌NO | ❌NO | ❌NO | ❌NO |
Writer | NOT DESIRED | ✅YES | ✅YES | ✅YES | ❌NO | ❌NO | ❌NO | ✅YES | ❌NO |
Editor | NOT DESIRED | ✅YES | ✅YES | ✅YES | ✅YES | ❌NO | ❌NO | ✅YES | ❌NO |
Publisher | NOT DESIRED | ✅YES | ✅YES | ✅YES | ✅YES | ✅YES | ✅YES | ✅YES | ❌NO |
Agency Manager | NOT DESIRED | ✅YES | ✅YES | ✅YES | ✅YES | ✅YES | ✅YES | ✅YES | ✅YES |
How to permanently delete a file
Click the small arrow next to the edit button in the media library.
Make sure you don’t delete media that’s used in micro-content or other pages.
The Media Item is still on pages / microcontent
You'll know a media item is in use when you click the delete button. A pop-up alert will show, saying there are recorded usages of this entity.
Click the 'Recorded usage' link. This will show you the list of content where the media is published.
After you remove the media from the listed content, it's safe to delete it from the media library.
How to edit media items in the Media Library
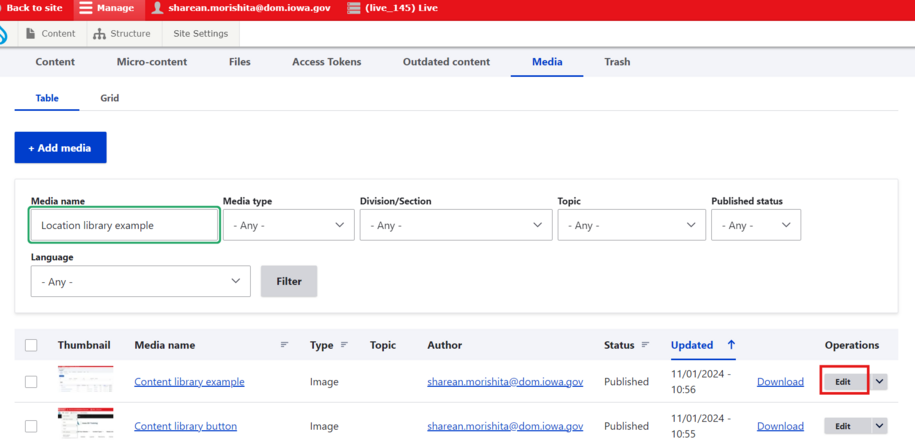
Click on "Media Library" to find the media you want to edit. Just search for the item's name. Then, select the edit button on the right side of the screen.
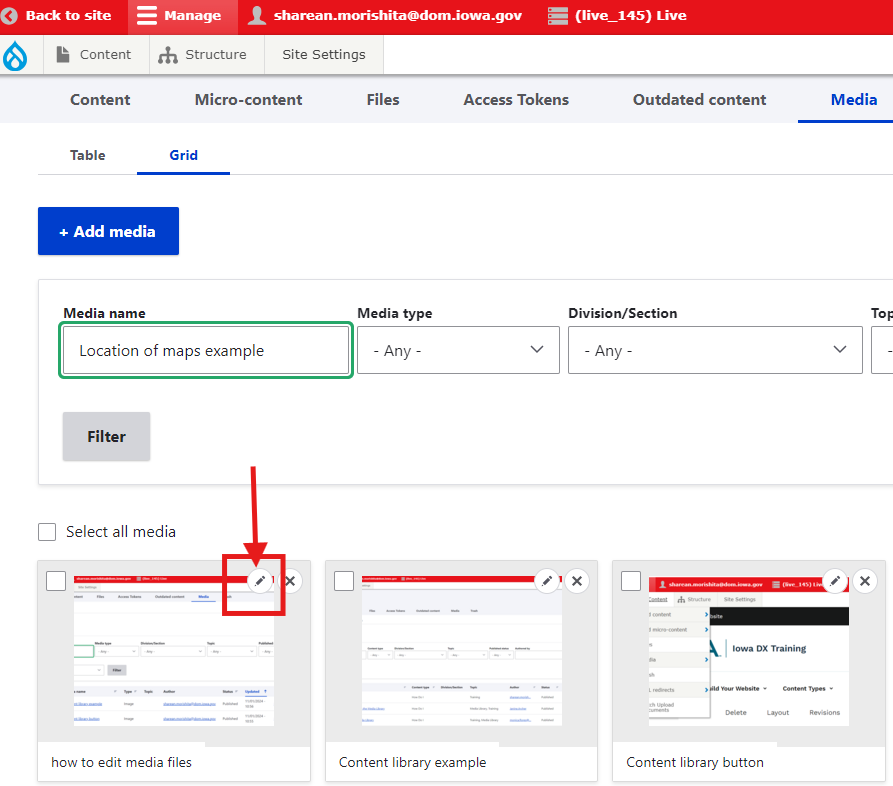
OR if your results are in grid format, click the pencil icon. You can also edit your media items there.
How to properly update media and documents files
To update an image or media document, use the media library. Click the edit button or pencil icon. If you delete the media and upload a new one, you'll need to revisit each page using that media to update it.
A better way is to remove the file from the edit field of the image or document. Then you can add your new file. This method will update all media on the website. This way you won’t have broken images or document links.

Items up to 100MB may be uploaded to the site "Media Library" and used on any page that can embed or reference media.
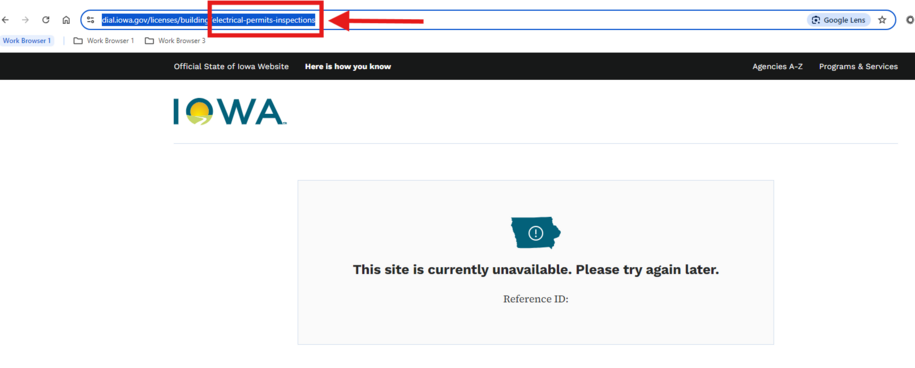
How to fix a "Site Currently Unavailable" error
To fix a "Site Currently Unavailable" error, you will need to edit the page. The only way to do that is through the content library.
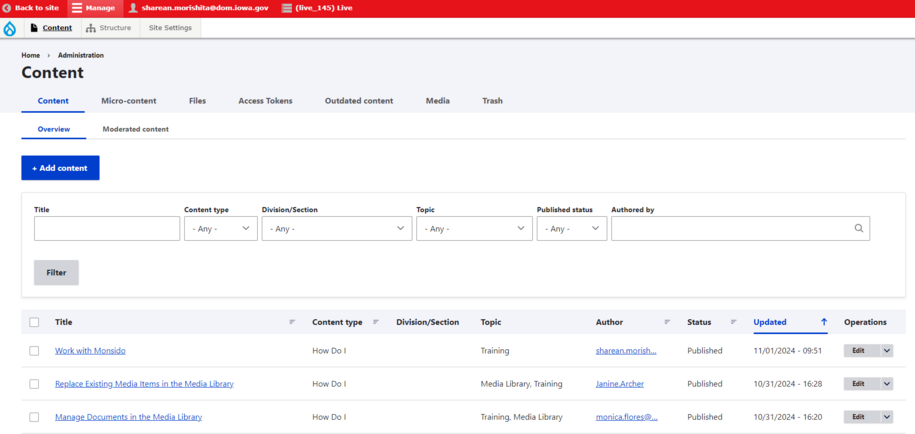
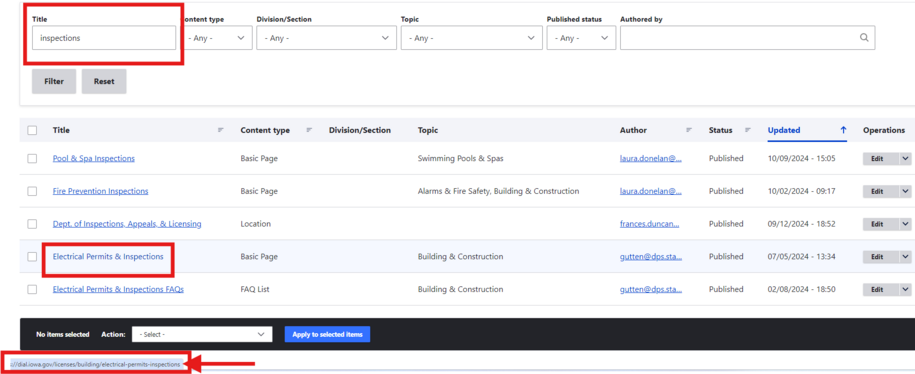
Navigate to the content library and type in the name of the page, which can be found within the URL.
After you search for the page in the content library, hover over the title link. This helps confirm it's the right page. Then in the bottom left of the screen you should see the matching URL.
You can check the page to find the broken file link. Usually, it's a microcontent, like a link collection list, that points to that file. We will choose the microcontent and click the gear icon. Then, we will check if the broken file link is in it.
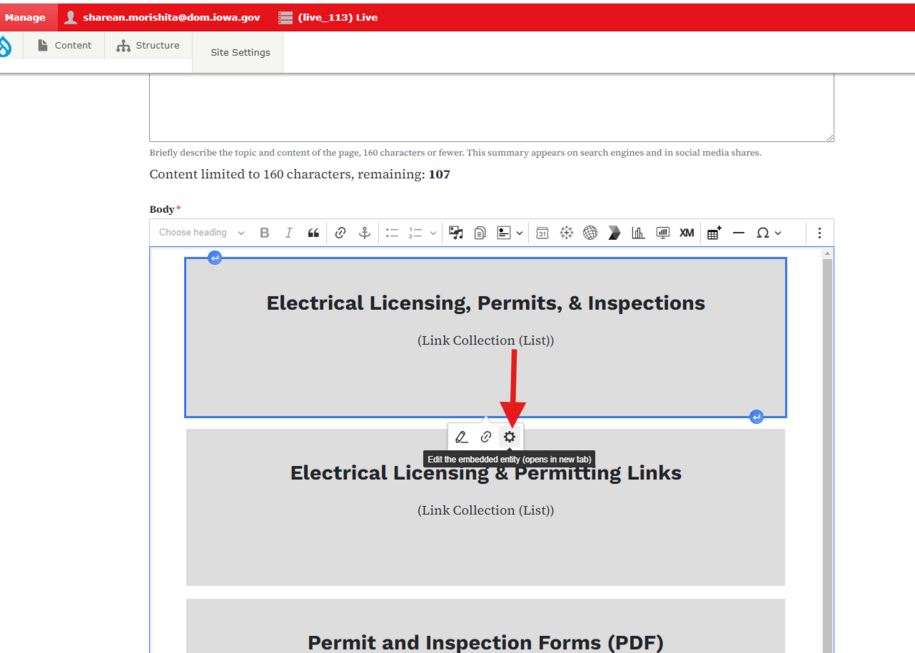
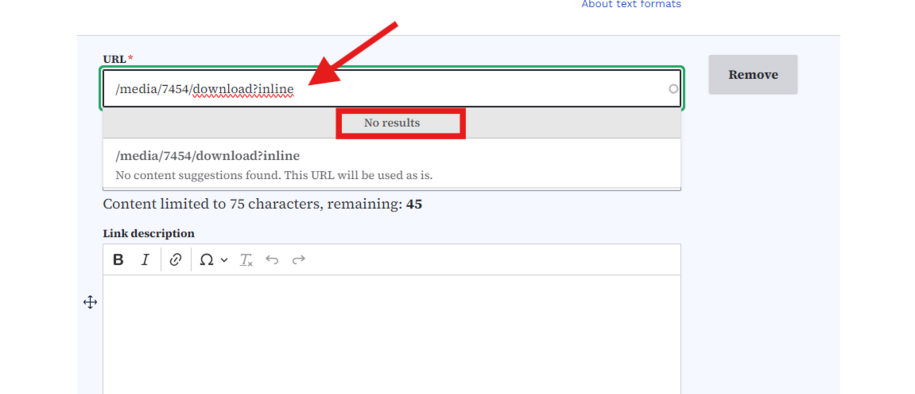
Click the link in the collection. This will show you a dropdown window. You can find out which link leads to a deleted file there. If says "No results" then you know this is the broken link and you can remove it by selecting the remove button.
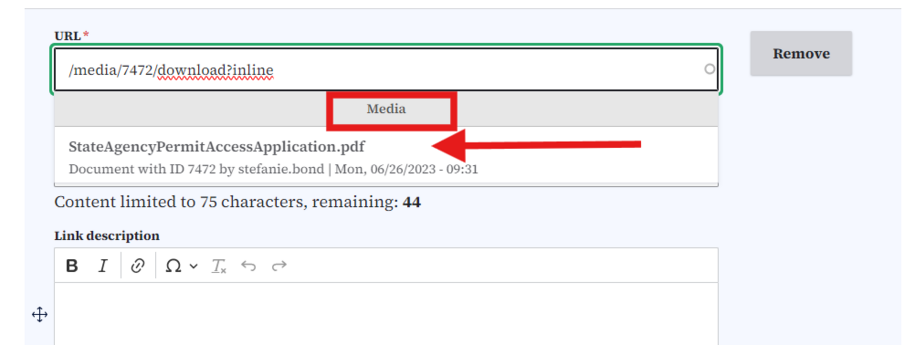
You can tell a link isn't working when "Media" shows up in the dropdown along with the media item info.
Once you save the fixed link collection, the page will be fixed, and that error message will go away. This is why it is important to only permanently remove files that are not being used on the site.