
The Focal Point allows content editors to specify the most important part of an image, known as the focal point. Focal Point (the little white plus sign on your image in the Media Library when you edit an image) determines where you as the author prefer the focus of the resulting image to be after resizing and cropping. If your image is being cut at a level you'd like to change, go back to the image inside the Media Library, select the pencil icon to edit the image, then drag the little white plus sign to the section of the image you'd prefer to be highlighted.
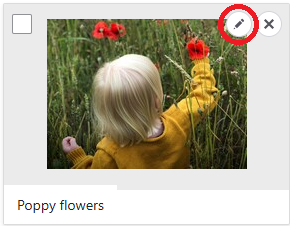
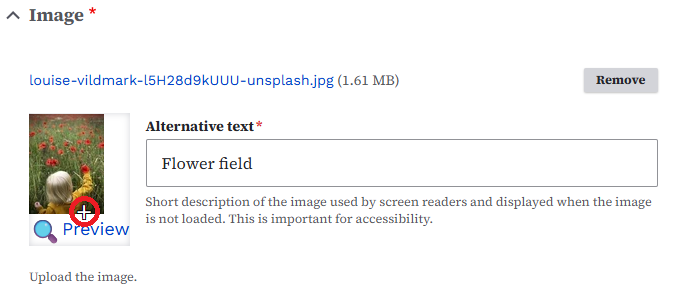
Example 1 of a focal point
Here's an example of two different focal points:
- If you want the flowers to be the focal point, move the white plus sign to the top of the image. Select Preview to see how these different sizes will show. If you're happy with the focal point in the image, click Save.
Note: If this image is being used in more than one spot, clone the image or upload another version with a different name so you don't overwrite/change every instance of the original image on your website.
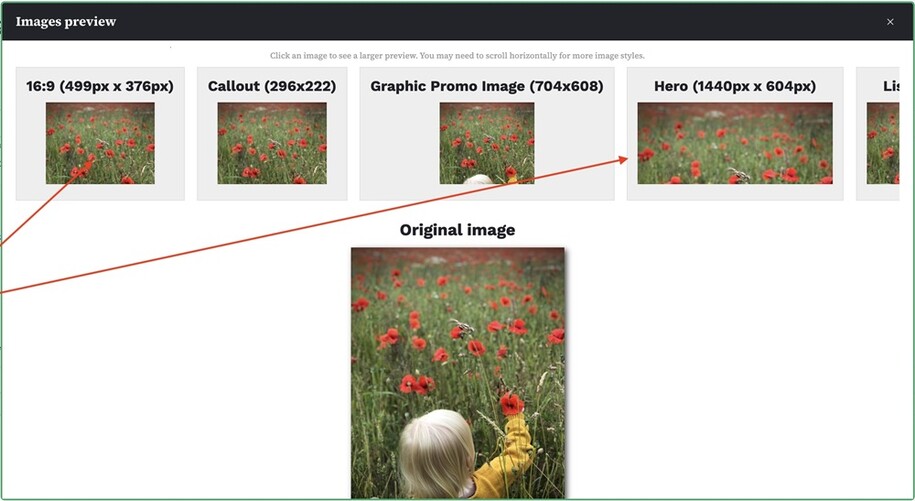
Example 2 of a focal point
If you want the child's head to be the focal point, move the white plus sign to the bottom of the image and select Preview. When you select Preview to see how these different sizes will show, the head will be the focal point.
Note: Saving the image will override all other instances.
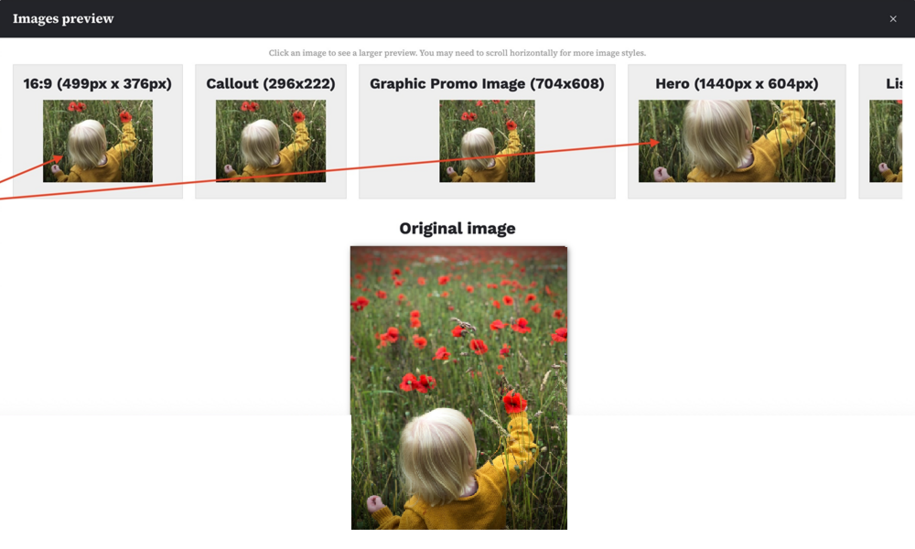
Warning on focal points
Warning: When you save the image with your desired focal point, the focal point on the source Media Library image will carry over to all instances of where that image is being used. An author changing it might inadvertently change someone else's usage of the Promo or in a featured image. If you want to have different versions, consider cloning the image and renaming them differently, or uploading a copy with a different name.
Tip: If you start with a large image, it can be copied or cloned and resaved with different focal points.